Here’s my first attempt at illustrating some of the techniques I use. It turns out my Logitech c920 takes decent macro videos although it can’t make up for bad lighting and editing.
I have no idea why youtube assigned a .be tld to the file but suspect it may have something to do with their recently announced efforts to keep the cybersnoops out of their cupboards.
I still have a few thousand seeds in the queue so plenty of opportunity left to make more videos this season.
Thanks, Jackie (et al). It really does get to be pretty easy with not-a-lot of practice. These took about twice as long as they ordinarily do on account of the awkward position I was in to accommodate the camera.
what do you do with the embryo after you remove the testae?
Judith, they get scooped into a small bowl with some of the 450 ppm peroxide solution so they don’t dry out which can happen pretty quickly.
Once the batch is finished, depending on whether they’ve had time to fully hydrate, they are either moved to incubation baggies or put back on the shelf for another day.
Can you make a video of removing the pericarp? I run out of patience and technique and wreck way too many embryos.
It’s next on the list after I work through the queue of soaking embryos - but I happen to know that you’re better at extracting embryos than I am, Margit
One tip for improving your results that’s not mentioned in the manual is to sharpen the clippers. I use a 3/4-inch diameter, fine grit silicon carbide sanding disk mounted on a rotary tool (Dremel) to sharpen the anti-facial side of the clippers. You can purchase the disks but I make them myself by cutting out circles from sandpaper with a razor blade.
Mount the disk on a screw mandrel with the abrasive surface such that it will face toward the tool motor. This allows you to hold the clippers in one hand whilst easily drawing the rotating disk along the clipper blades with the other.
Bettina, thanks for posting that video. It’s obviously by Werner Schenkel and since it was posted about a month ago he must be doing some breeding again. Last time we corresponded he was busy with other things.
One thing that Werner’s video illustrates is how individualized the toolkits tend to be. I use fingernail clippers, George uses a razor knife and Werner uses forged shears. The key, I think, is practice.
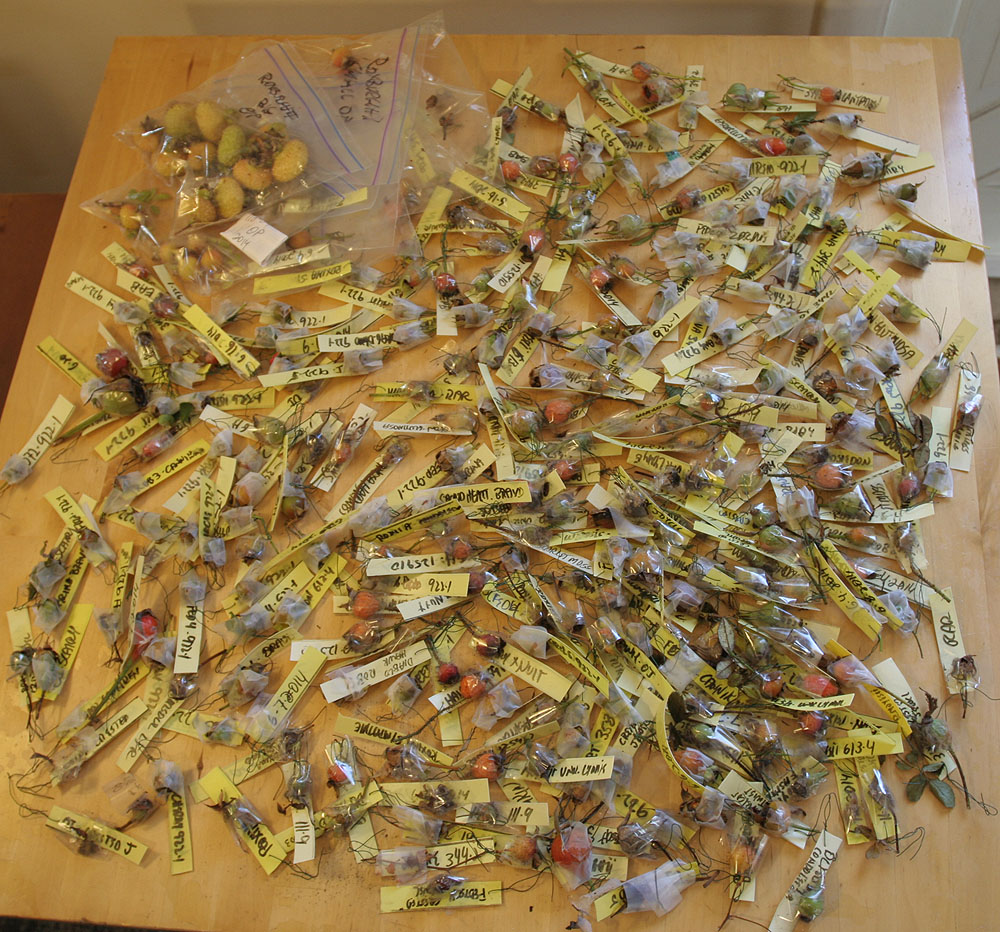
Most of those seedlings flunked out a long time ago. The few that graduated left to seek their fortunes elsewhere. Here is the incoming class of 2014:
I do not have a greenhouse and would not want one. The maintenance burden would be a complete distraction and the expense of heating it would far exceed what it costs to grow seedlings under lights in the house. These will get shelled out soon and then the fun starts.
I can’t find a photos of it just now but my light stand is pretty basic - a wood frame holding foot wide shelves with a dual-bulb, four-foot fluorescent lamp mounted above each shelve. Plastic tray liners that I get at the local Agway hold 48 x three-ounce cups in which the seedlings spend the winter. Be sure to poke holes in the cups to turn them into pots (for which I use a 1/8 inch diameter soldering iron, six holes each, goes quick).
Seedlings go outdoors during the daytime as soon as the spring weather permits and they stay outdoors when I’m confident that frosts are over, usually toward the middle to end of April here.
Leave the lights on 24/7, btw. Roses have no need for a dark period.
The old T12 4-ft fluorescent tubes were 40 watts, but the T8 fluorescent tubes of the same length are only 33 watts–and probuce more light. Since the T12 is obsolete and is no longer manufactured, you should use the T8 fixtures and tubes. There was a discussion of this on the forum, and Betsy made a “From the Forum” article on this subject in the Spring 2013 Newsletter, so if you want to read a bit on the subject, that would be a good place to start.