Below is a description of my experience with rooting a cutting taken from a seedling that was 2 months old. It was originally written in 2016 as an article for the newsletter, hence its length.
-Jonathan
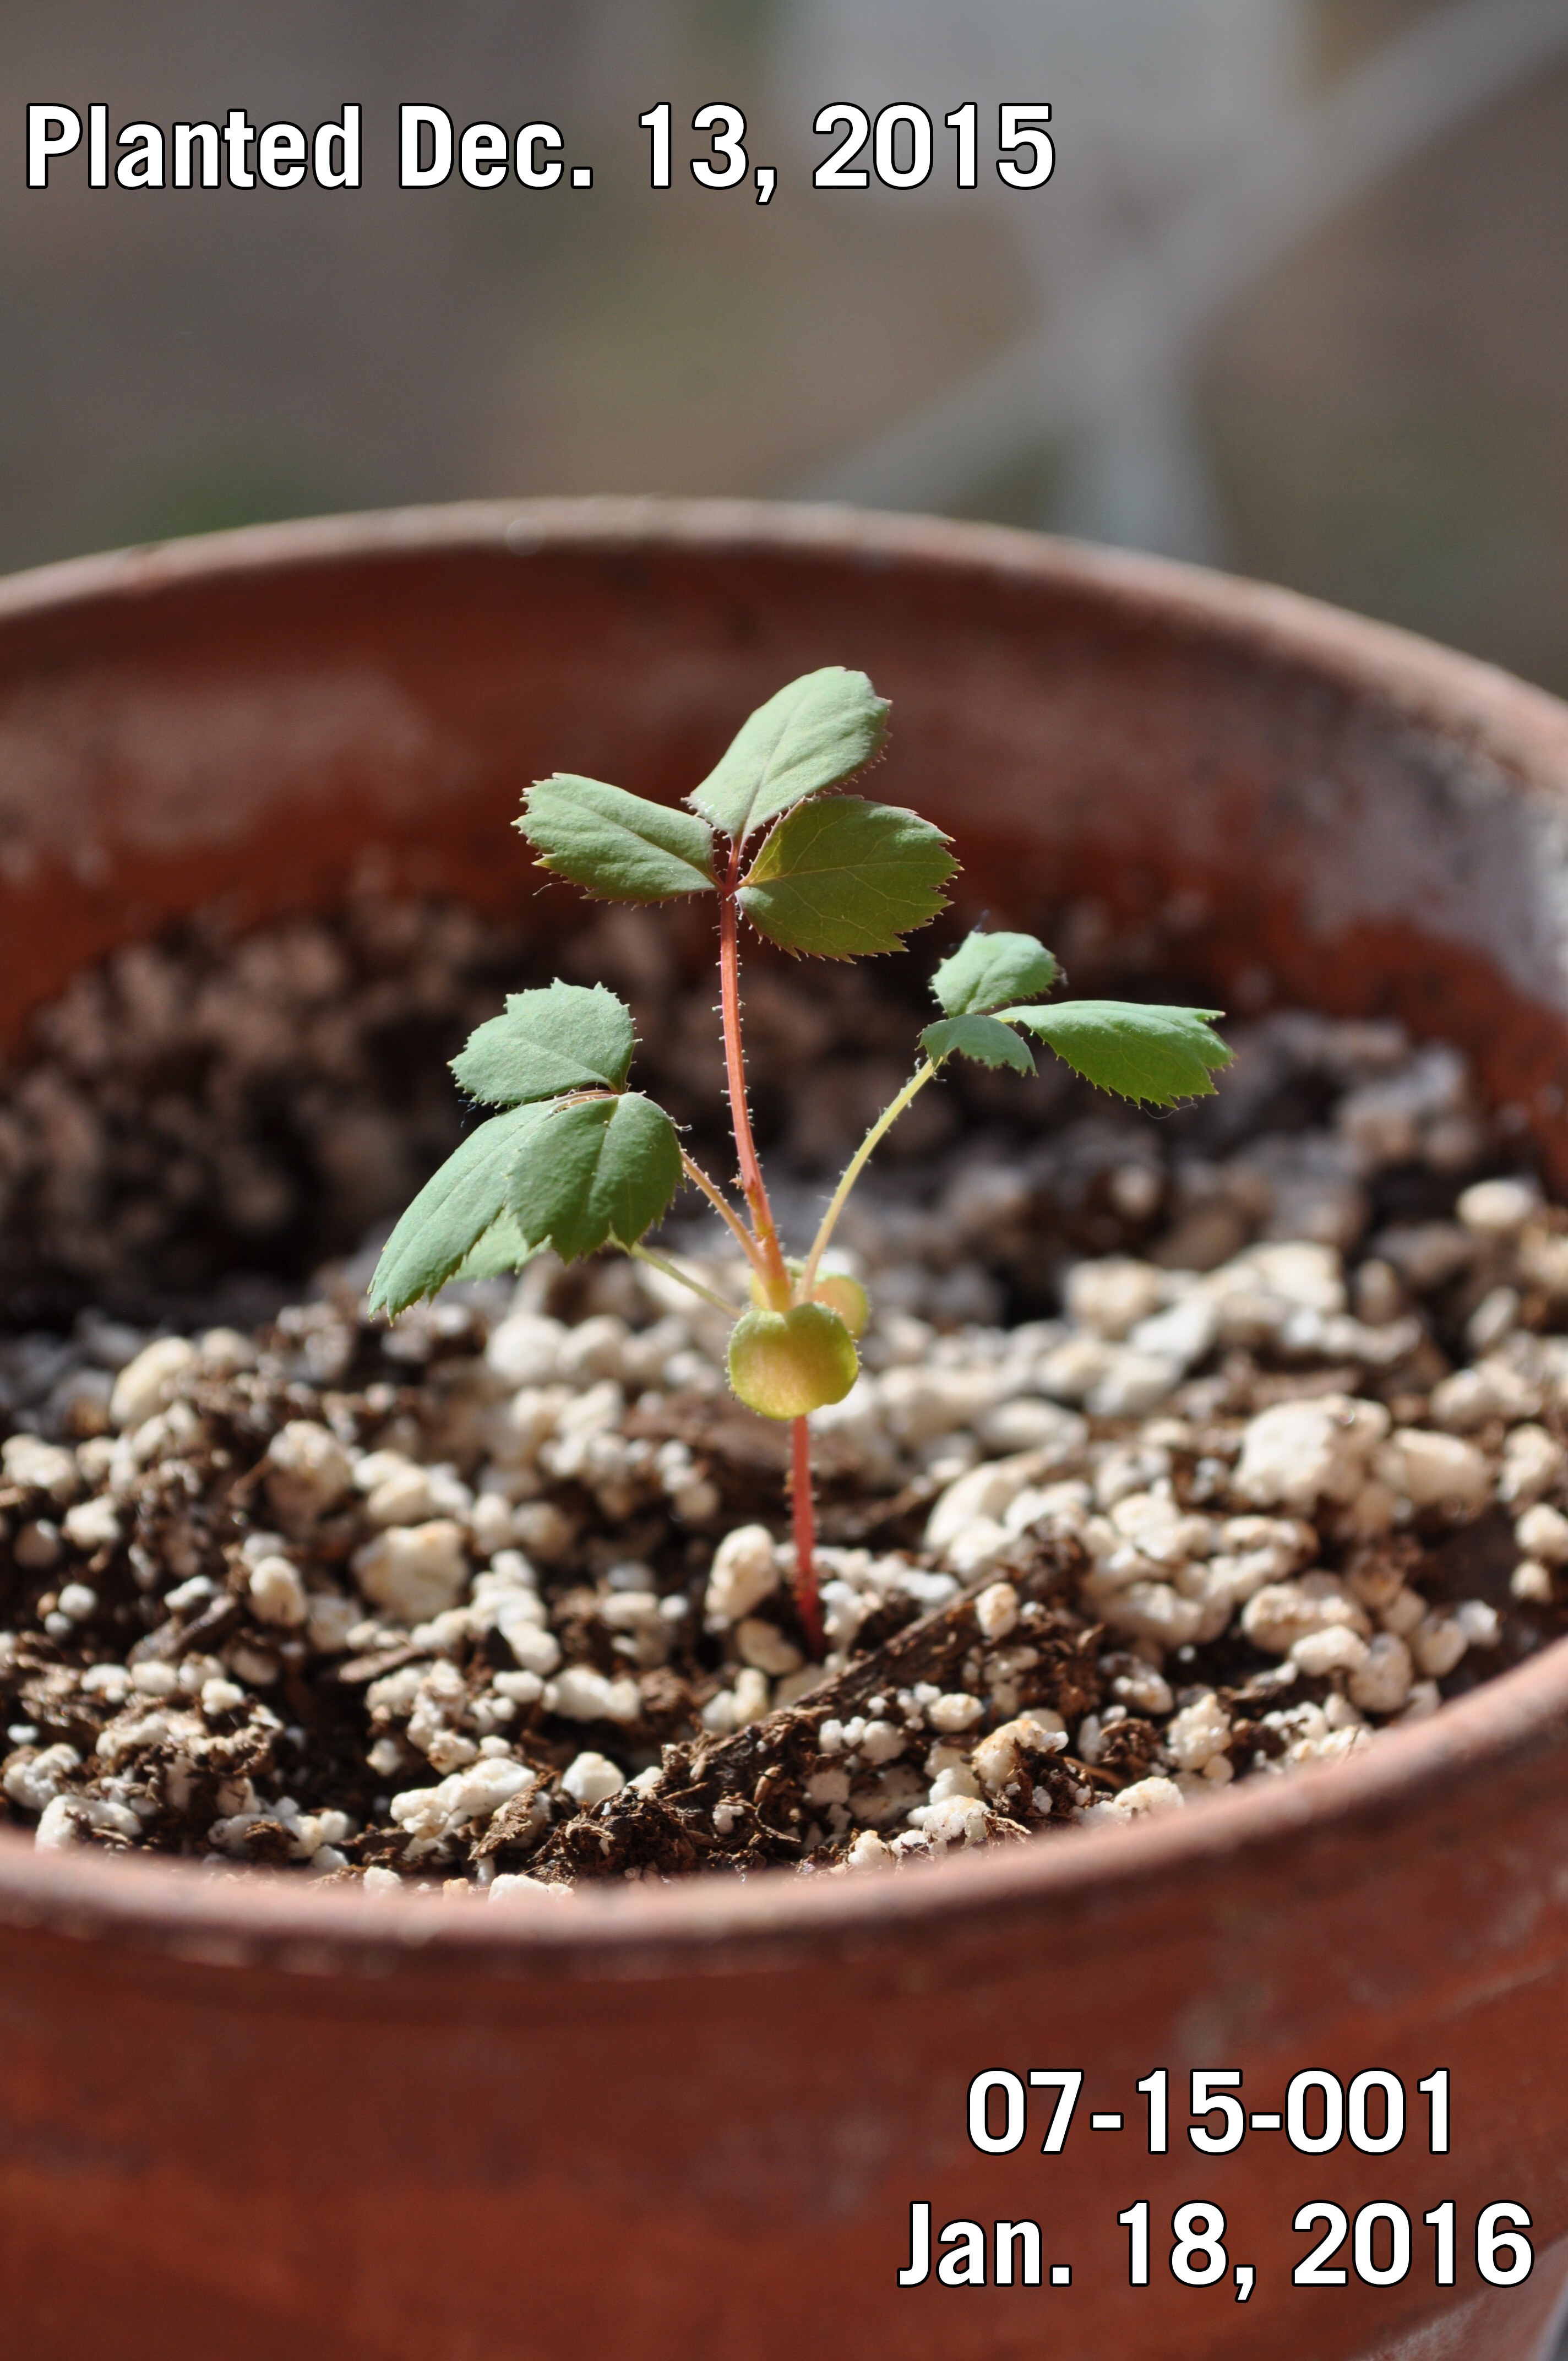
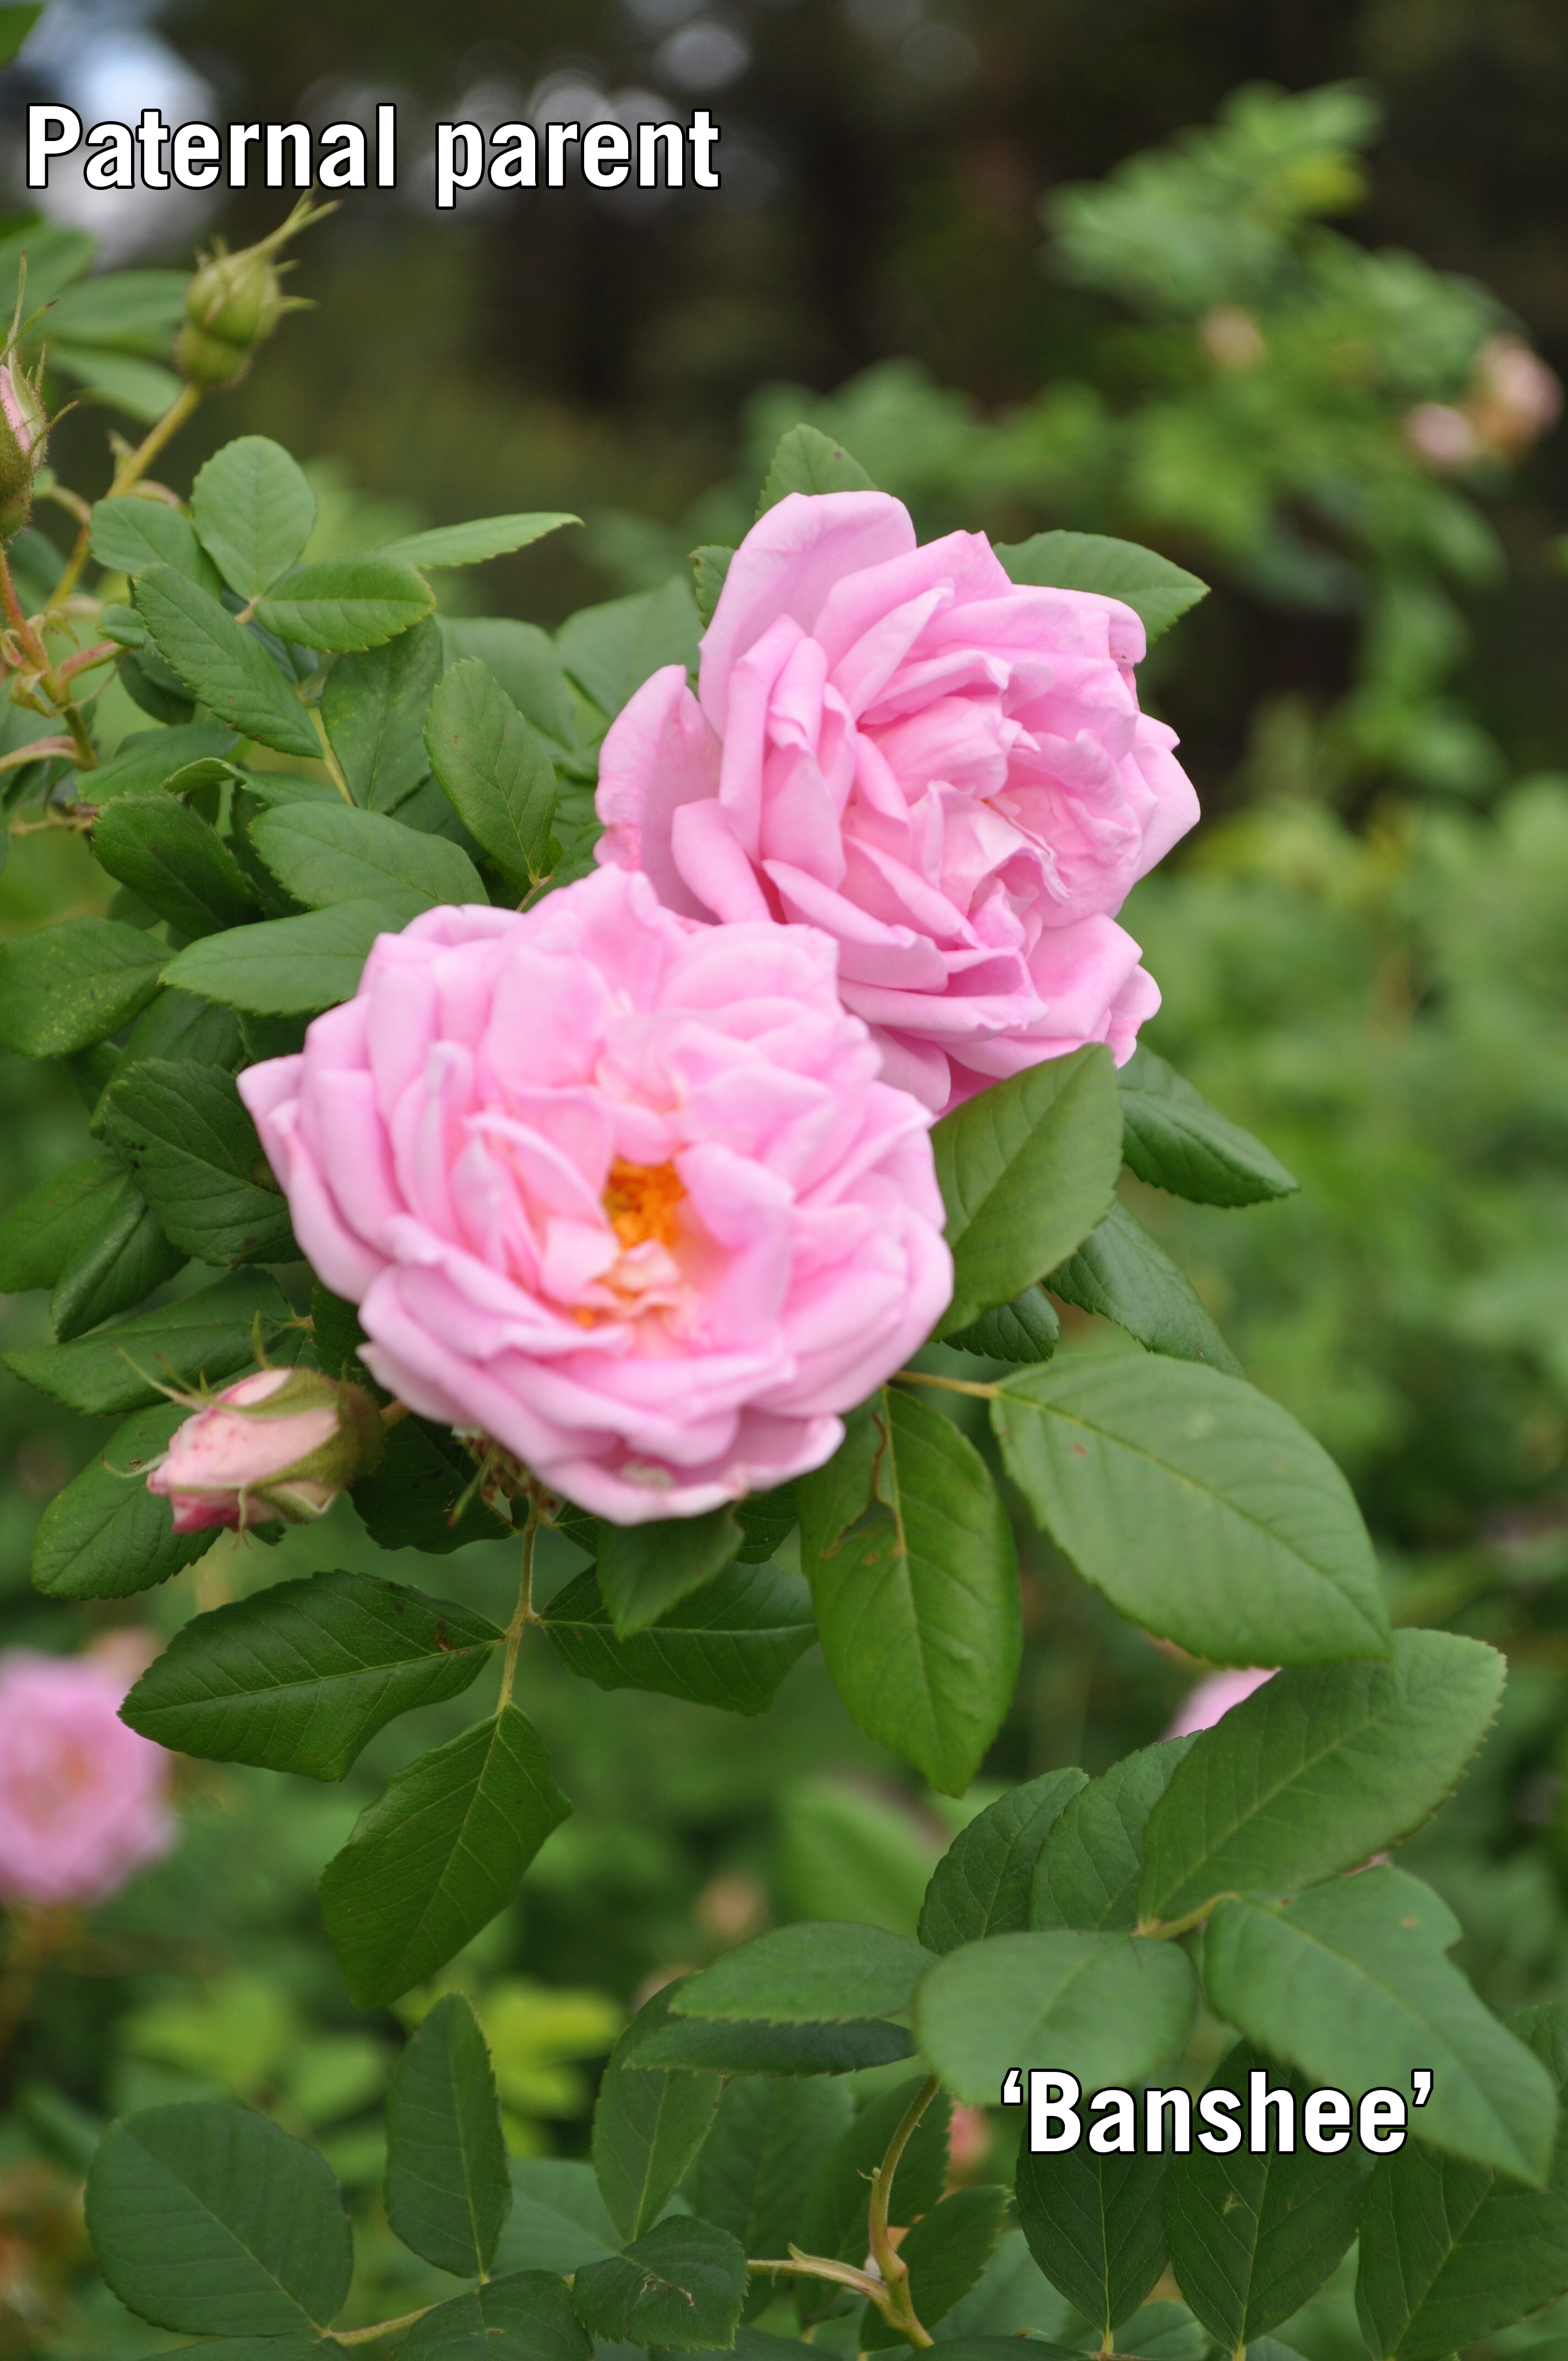
On June 16, 2015, I made the cross ‘Climbing American Beauty’ x ‘Banshee’. I harvested the hip August 23rd of that year. The cross yielded only one seed from a hip that dropped prematurely. I placed that seed in stratification under the name 07-15-001, meaning that it was the 1st seed of the 7th cross of the year 2015. Checking in on the seeds that December, I discovered that 07-15-001 had sprouted completely. Fearing that the seedling would mold over if left in stratification, I planted it.
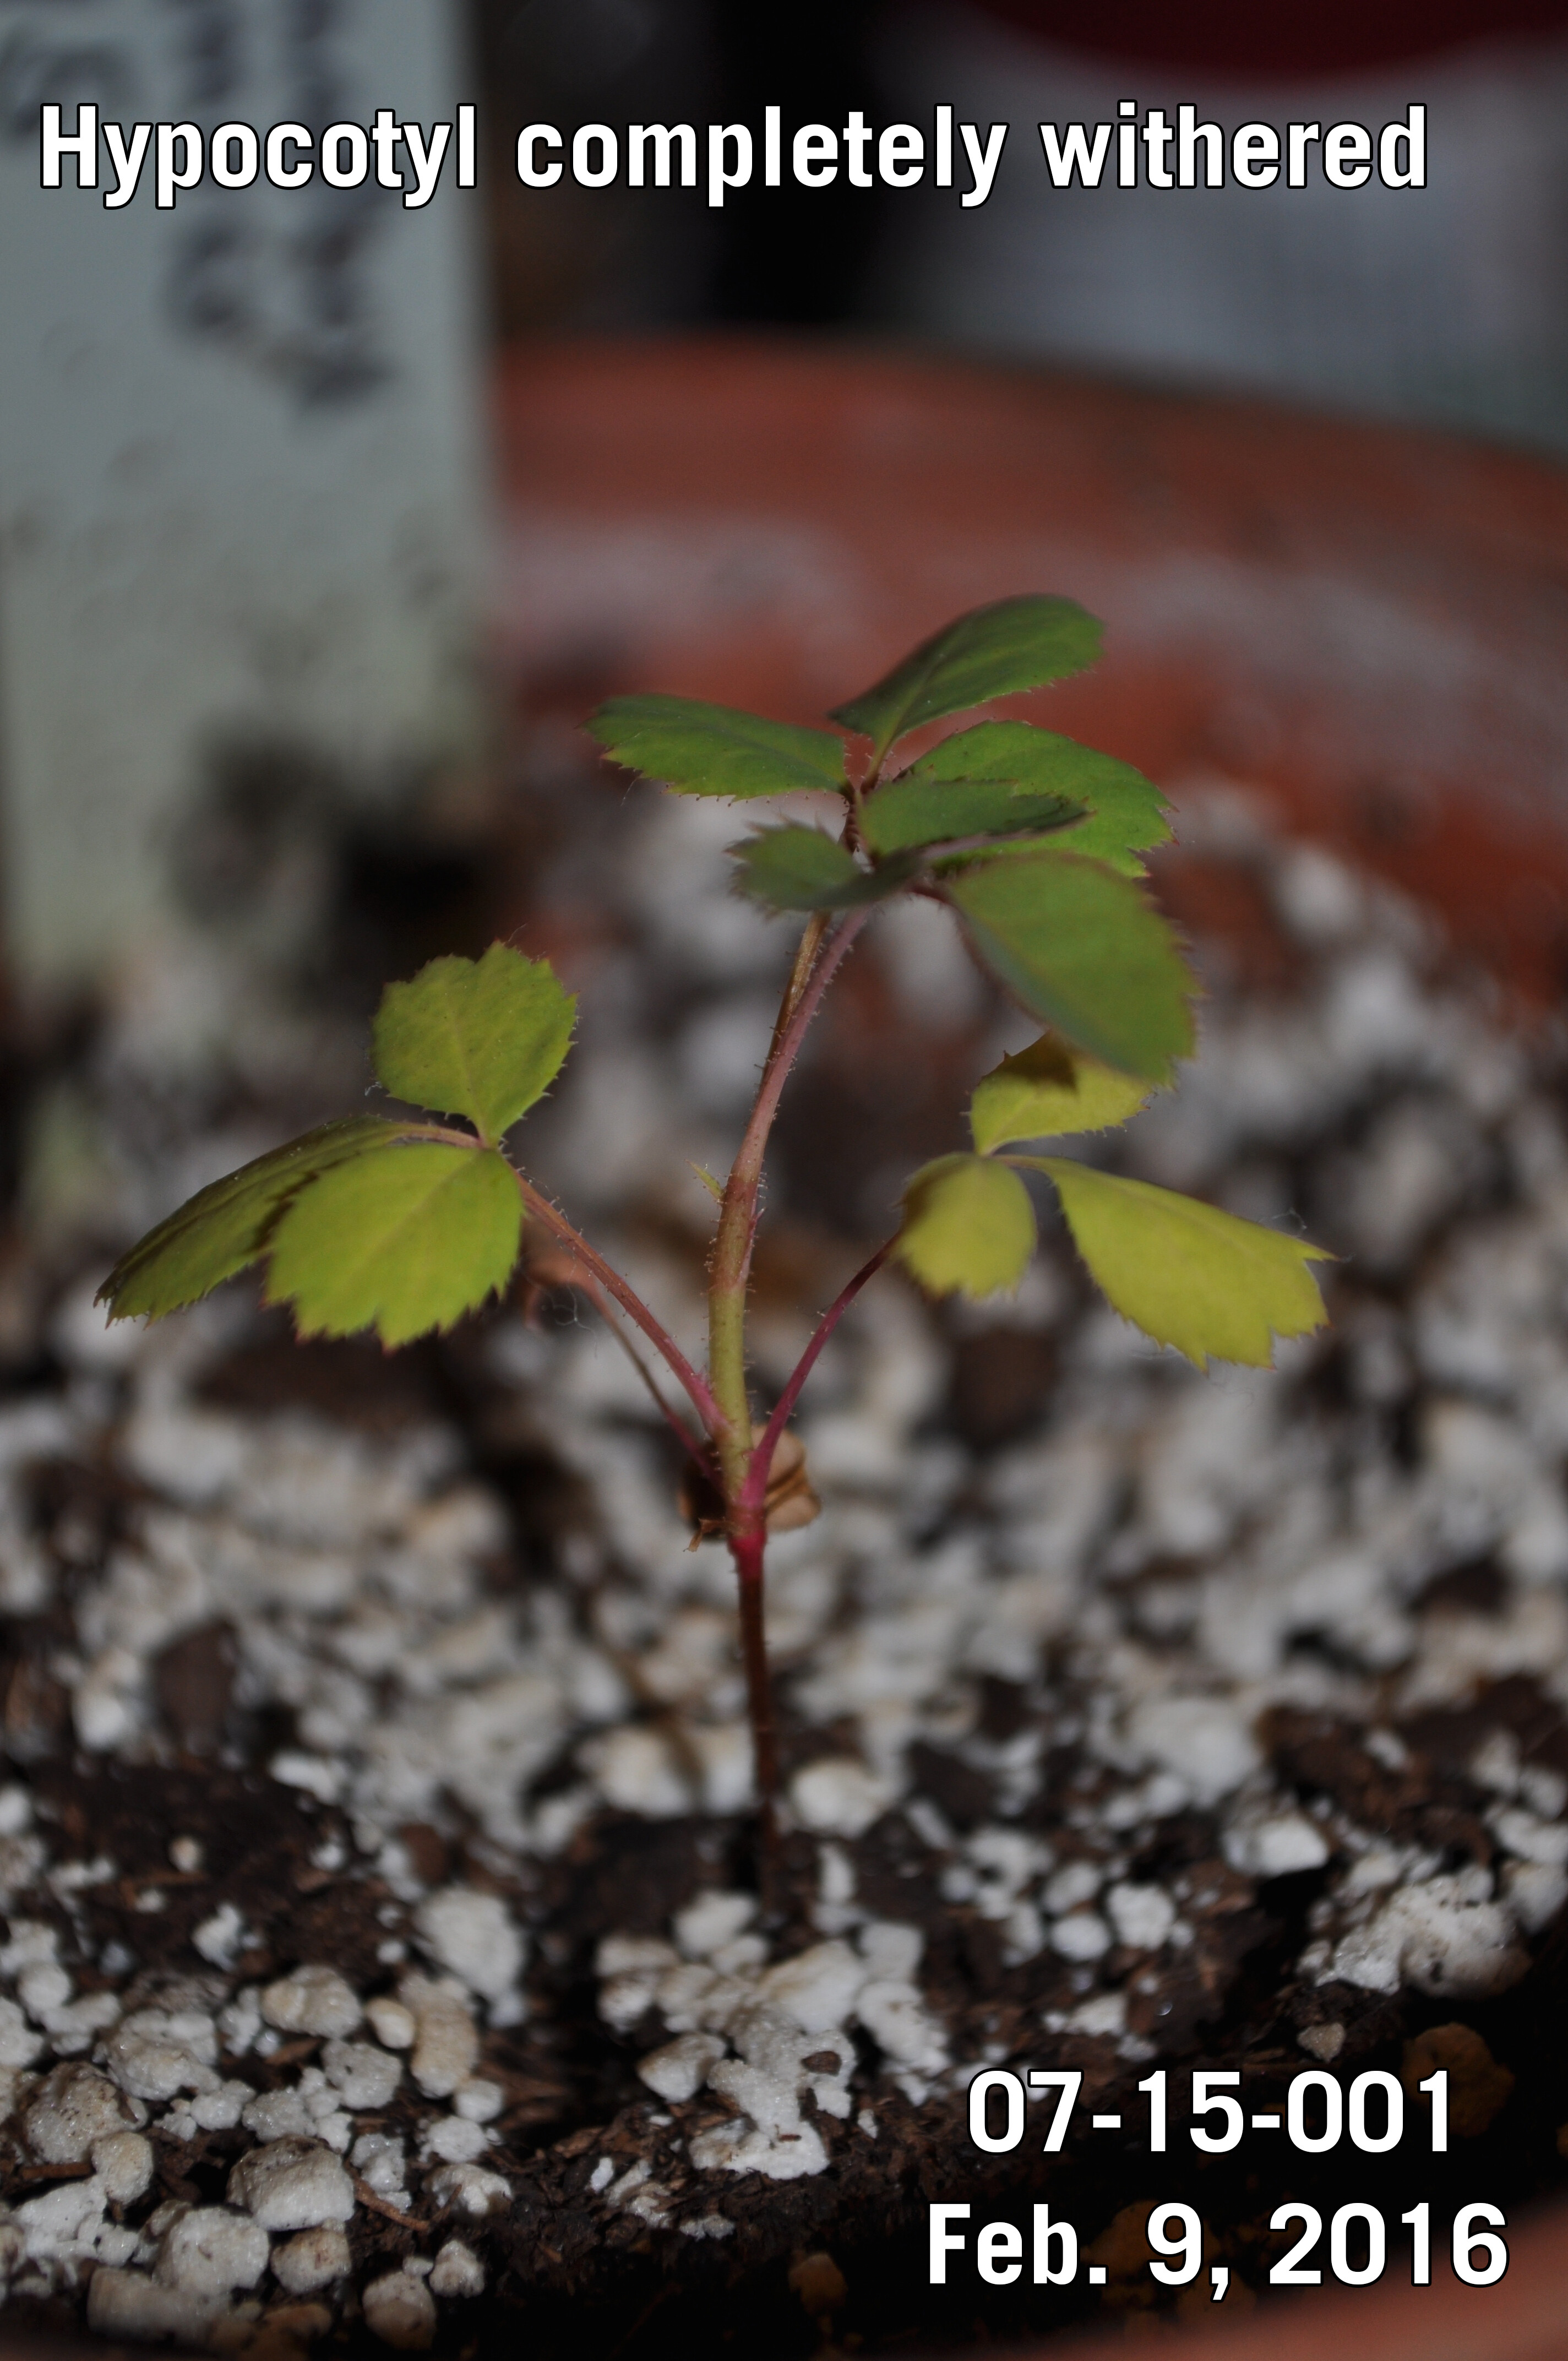
07-15-001 did great for a while until I noticed in February 2016 that the base of the stem was starting to shrivel. Having nothing to lose, I shifted into experimental-rescue mode. Thinking this problem may be fungal, my first attempt at a cure involved saturating the soil with a 60/40 solution of Daconil fungicide and water. That was unsuccessful. Even though the top portion of the seedling appeared healthy, the browning and shriveling continued to make its way up the stem.
In a last-ditch attempt to save the seedling, I decided to remove the healthy portion of the plant completely and root it. I knew this could be done through tissue culture, but I didn’t have any feasible means to do so. Instead, I tried to root the seedling-cutting as one would root a mature cutting. The internet didn’t offer much on my exact situation, but I did find a paper by Jonas Dupuich* in which pine seedlings had been rooted after removal of their taproots. Empowered by this new knowledge, I decided to proceed.
I did not follow Dupuich’s paper exactly, making my own changes using the materials I had on hand.
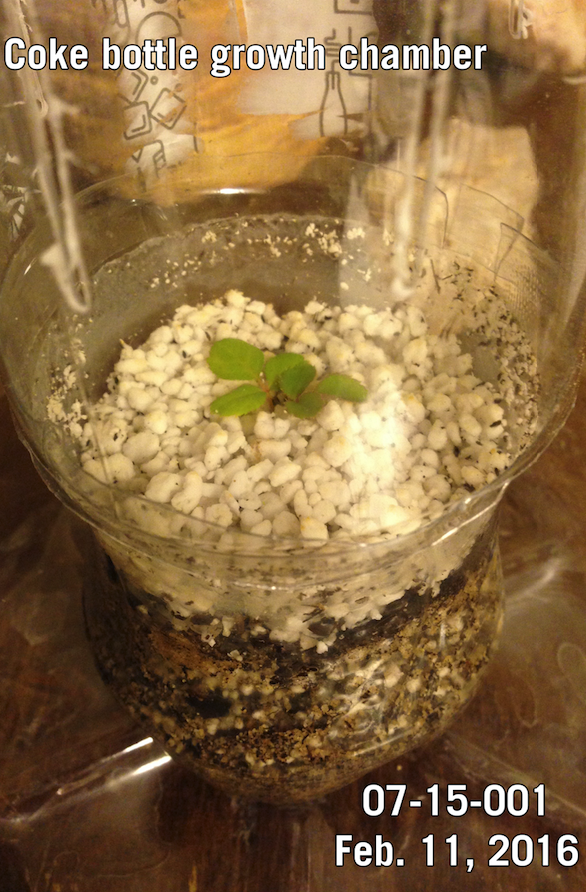
First, I used a 20 oz plastic Coke bottle as a growth chamber. Removing the label, I cut the bottle in half. Using a Dremel tool with the grinder bit, I cut ventilation slits into the top portion of the bottle. Drainage holes were made in the bottom half of the bottle.
For the growing media, I mixed 2 handfuls of MiracleGro® potting mix, 1 ½ handfuls of Quikrete® all-purpose sand, and 1 ½ handfuls of MiracleGro® perlite. I wanted good drainage, but also adequate moisture for rooting. After placing the mixed media into the planter portion of the plastic bottle, I poured hydrogen peroxide through the mixture. I didn’t have much peroxide, so after the peroxide I saturated the media with 70% isopropyl rubbing alcohol. Was this “sterilization” helpful or just paranoia? Maybe a bit of both.
After letting the alcohol-soaked media sit for a few minutes, I flushed the soil with water until the leachate no longer had a strong alcohol odor.
With the growth chamber prepared, it was time to make the cut. I doused a pair of dissection scissors with 70% rubbing alcohol and without waiting for them to dry*, I removed the top portion of 07-15-001 (cutting above the infection). The plant was about 1.5” tall before cutting. The removed portion was about 0.5” in length. I’ll note here that the tissue that I was attempting to root came from the epicotyl (above the cotyledons) rather than the hypocotyl (below the cotyledons).
I applied powdered rooting hormone (Schultz® Take Root rooting hormone) to the cutting. To avoid clogging the stem with the hormone, I took care to roll the cut-end around in the powder (holding the cutting horizontally), rather than shove the cut-end down into the hormone powder. Using my finger, I made a shallow hole in the soil, deep enough to cover a few millimeters of the stem. I placed the cutting in the hole and pressed the soil around the stem to cover it. Having read on Paul Barden’s site that a layer of perlite may help to reduce damping off, I covered the top layer of soil with perlite and watered thoroughly.
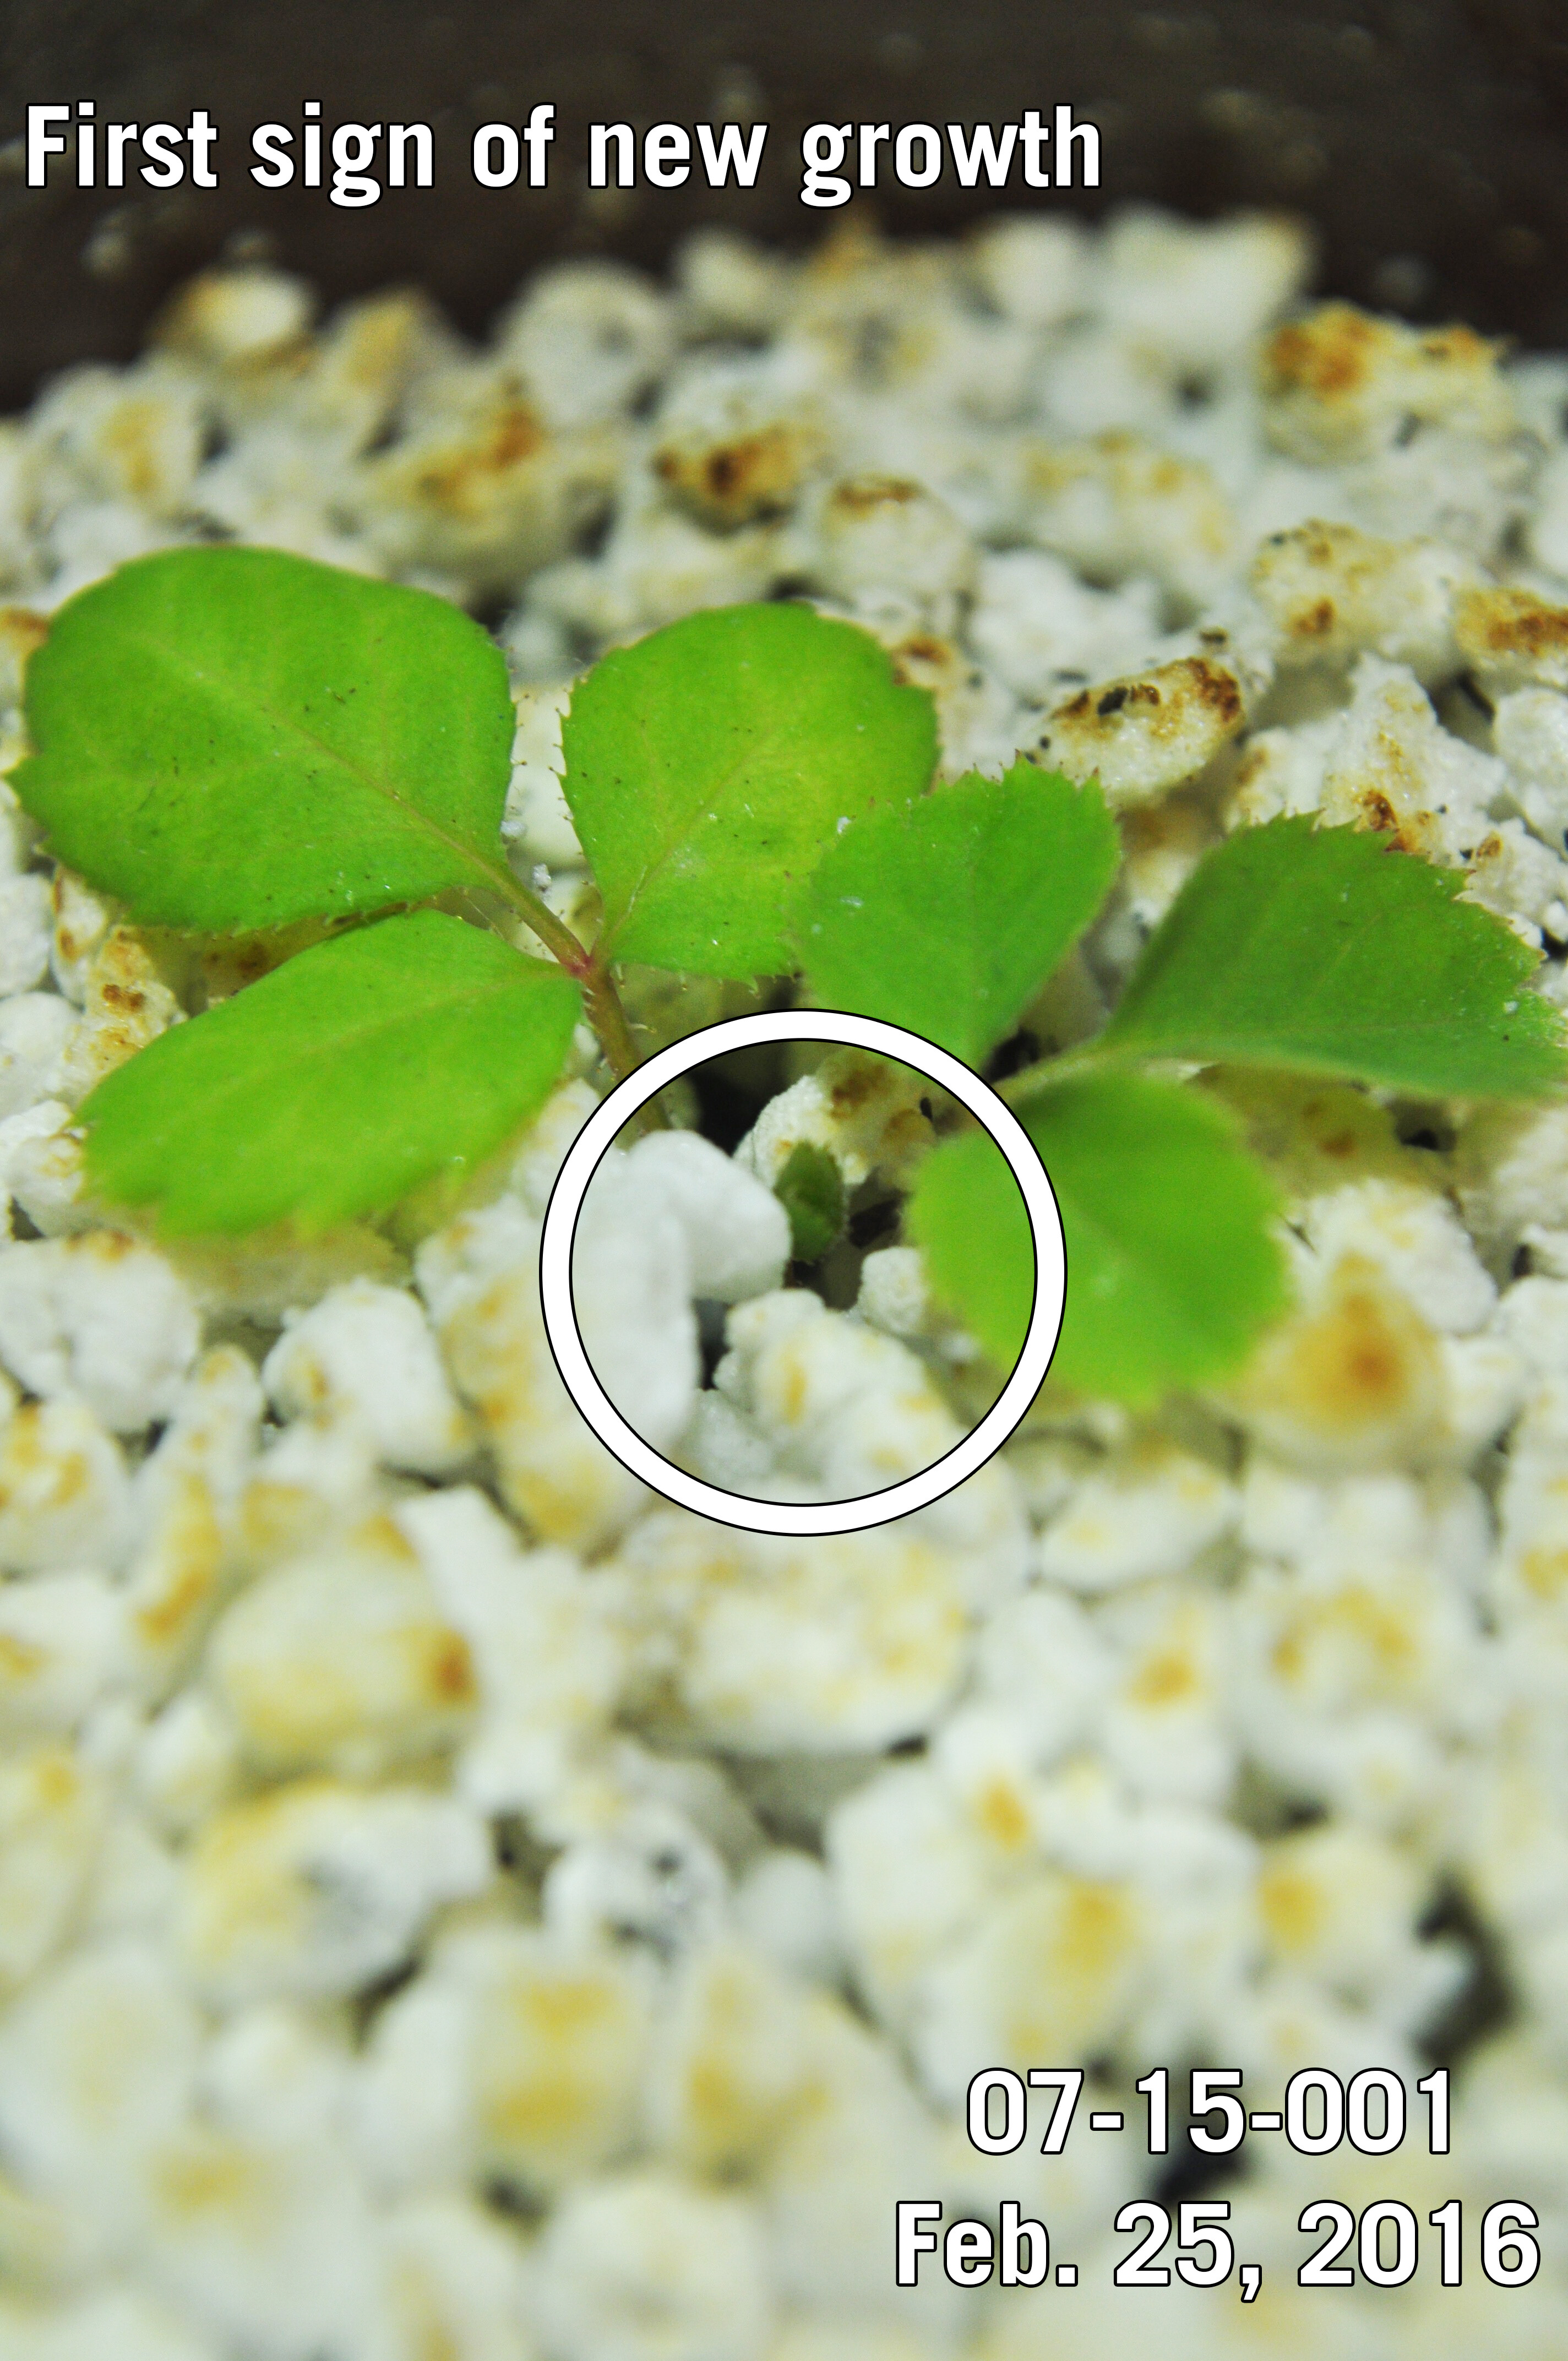
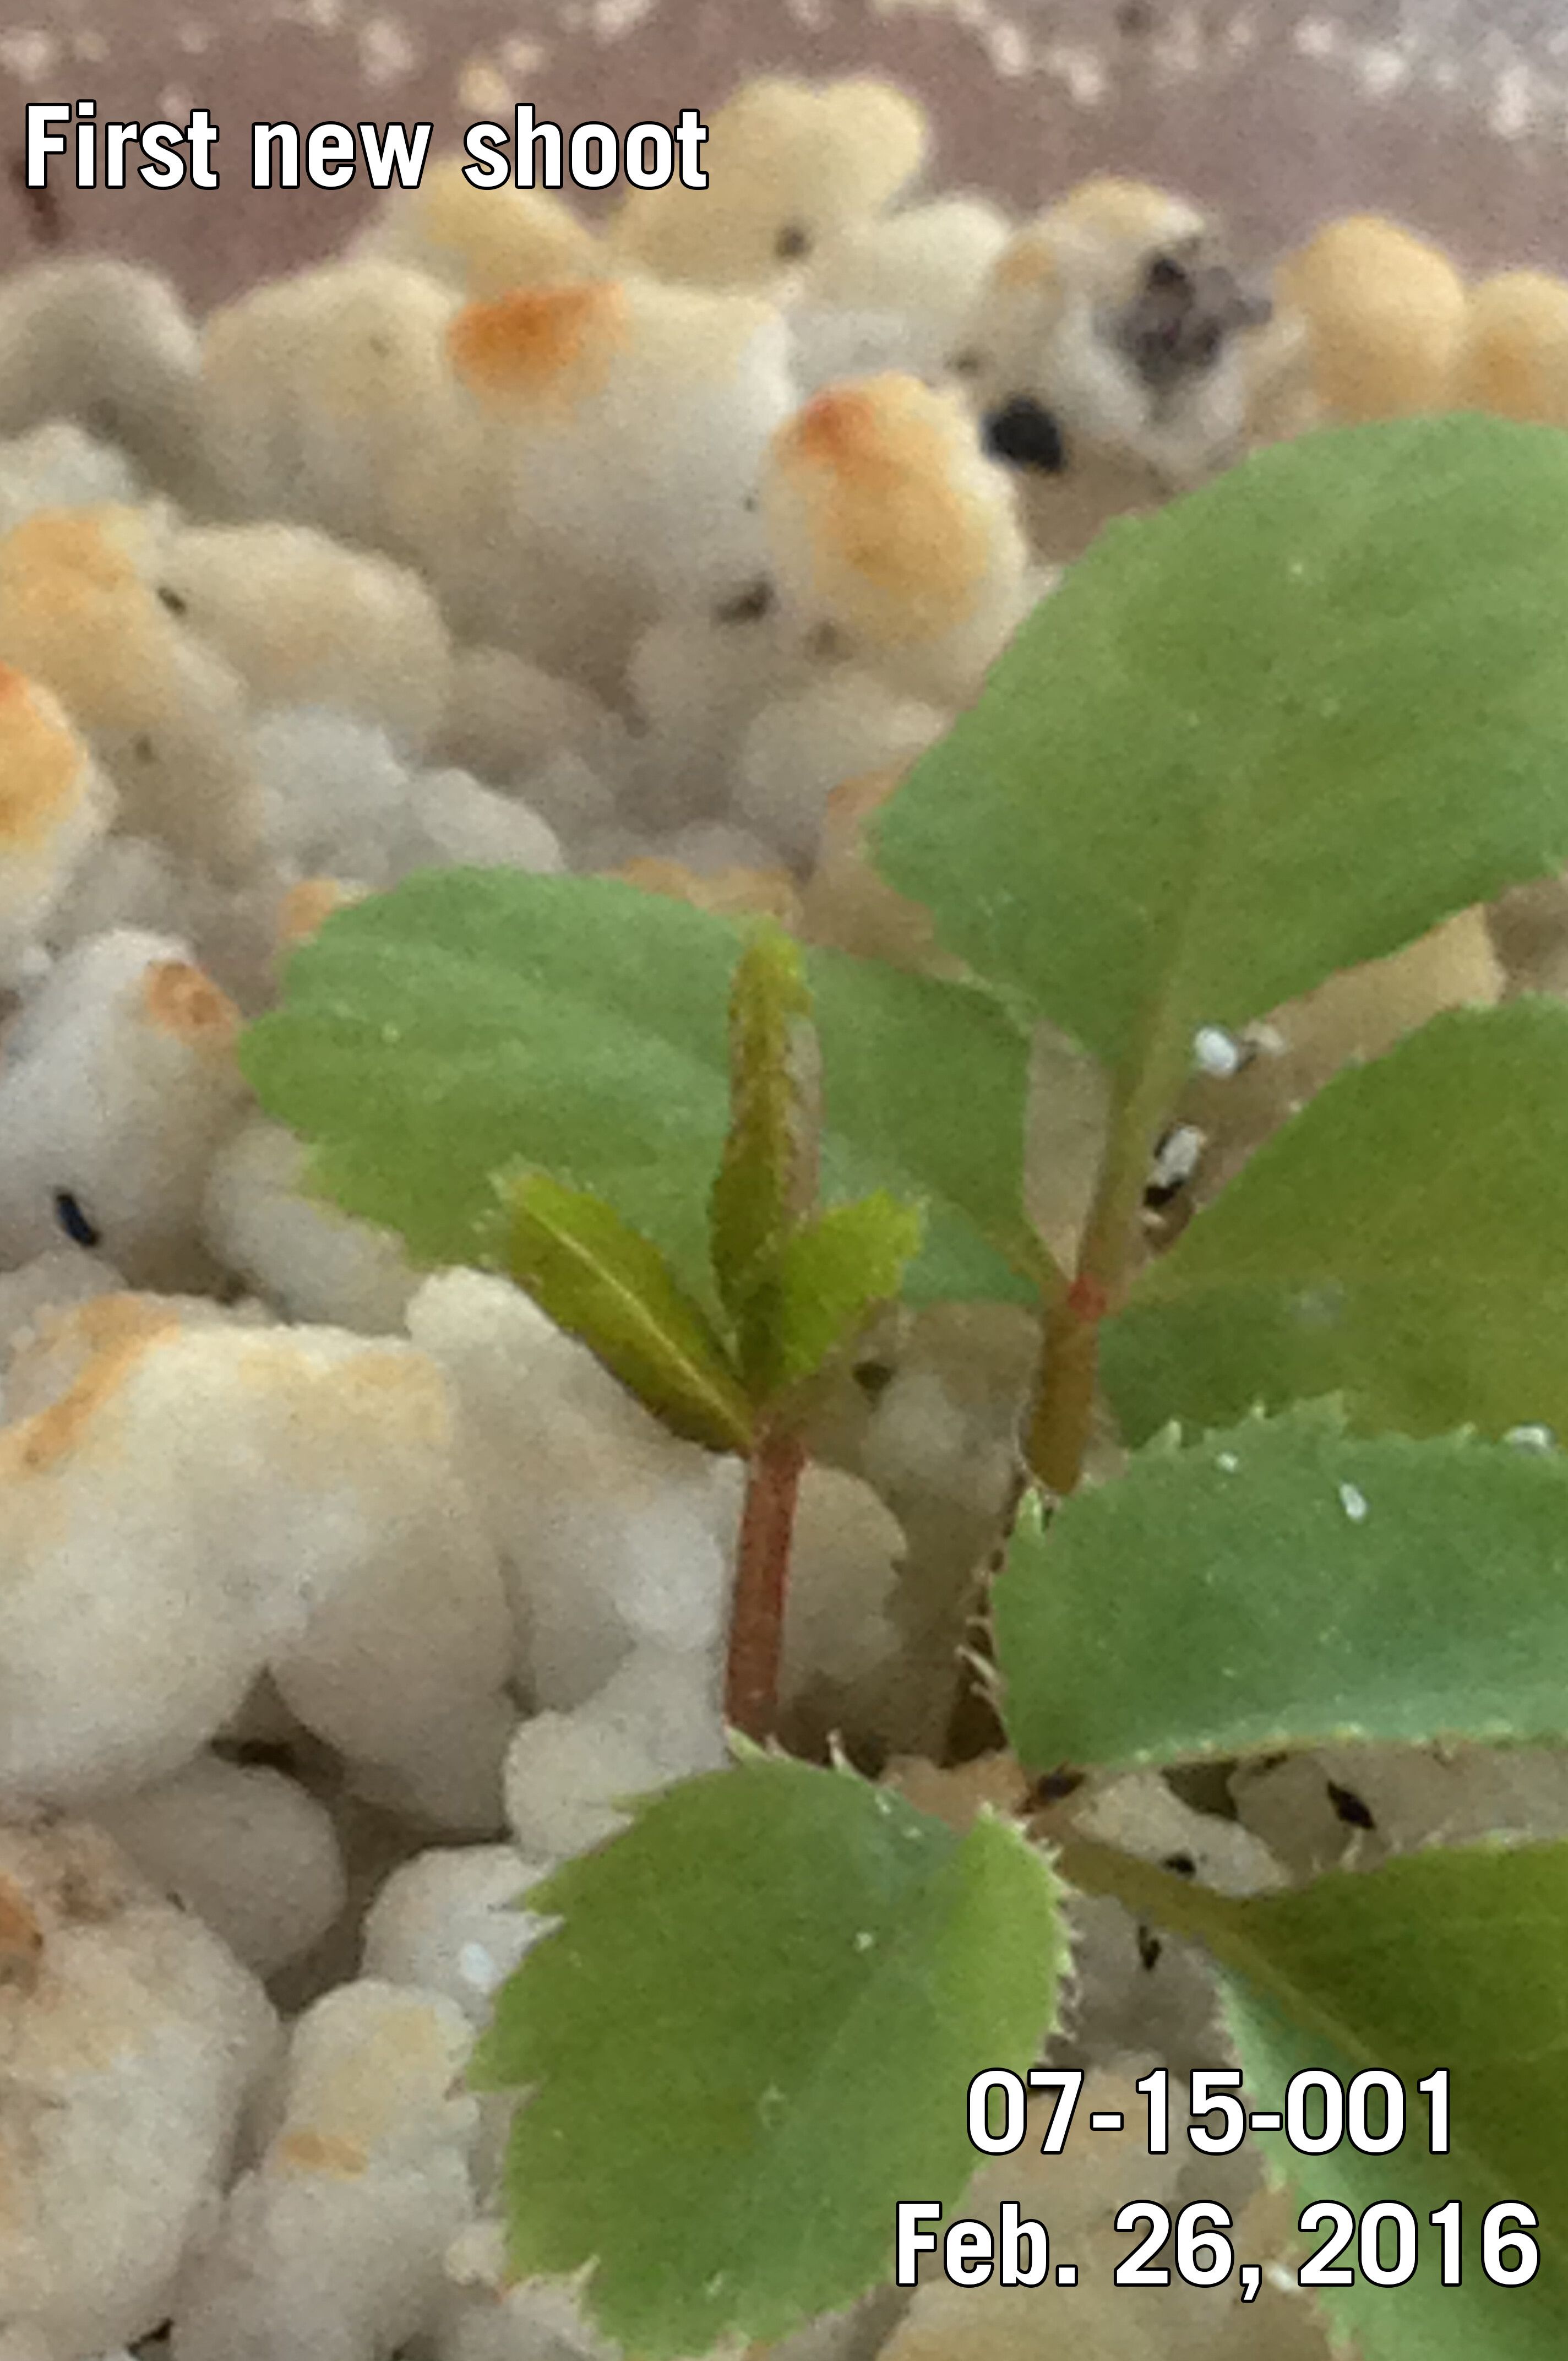
Two days passed and the tiny cutting was still green. Six days after the procedure (Feb. 15, 2016) the cutting was still green, but there was a slight yellowing of the leaves. In case this was a nutrient deficiency from the lack of roots, I watered the cutting with MiracleGro® liquid houseplant food following the instructions on the bottle and making sure to dump the excess water from the watering saucer. 16 days after the initial cutting was made (Feb. 25, 2016), I observed new growth! I couldn’t believe it. The tiny cutting was sending up a new shoot! I fertilized again with MiracleGro® liquid houseplant food on Feb. 28th.
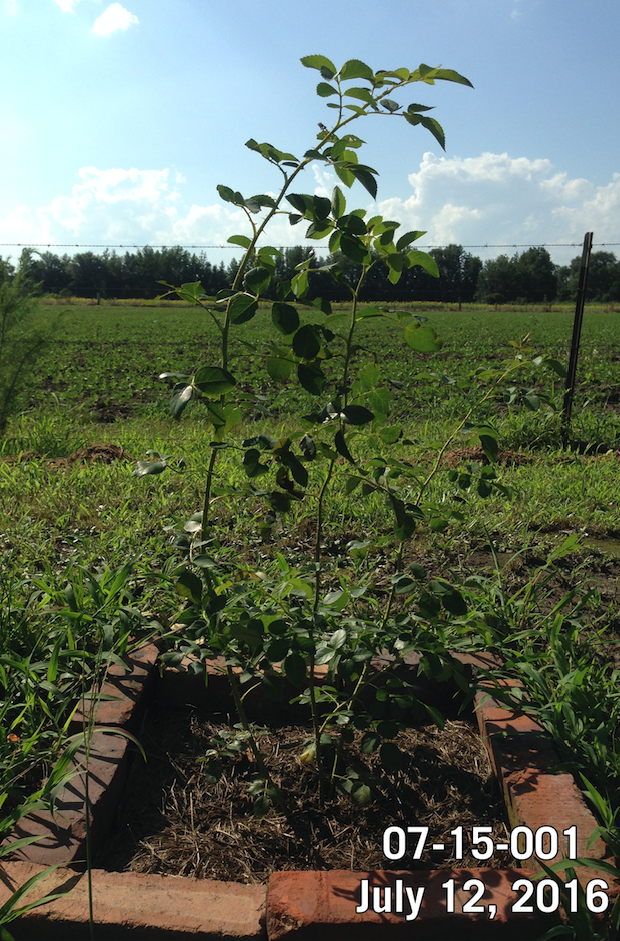
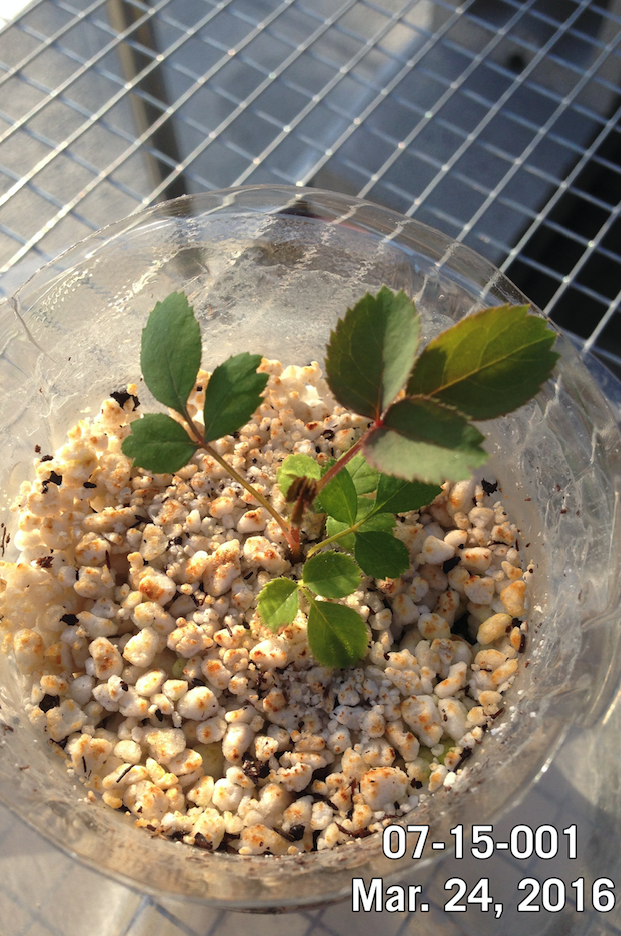
07-15-001 grew into a full-sized potted plant and was eventually planted in the ground where it reached about 2 feet in height. It later declined and showed heavy dieback as winter approached, eventually dying. It never flowered, but you can see foliage photos of it on HMF. I’m sure this procedure won’t work for every seedling. It’s my belief that the paternal parent ‘Banshee’, which suckers rampantly, may have contributed to the seedling’s rooting ability.
Some may say that this is nothing new, but personally I learned a great deal by taking a chance with this little experiment. Regardless of the novelty, I present evidence that damping off doesn’t have to be a death sentence for seedlings.
07-15-001: '07-15-001' Rose
*Dupuich, J. (2015). Effect of hormone treatments on P. thunbergii cuttings for the production of surface roots on trees cultivated for bonsai. Retrieved from: Effect of hormone treatments on P. thunbergii cuttings for the production of surface roots on trees cultivated for bonsai - Bonsai Tonight
- Using the same logic behind cutting rose stems underwater, I did not wait for the scissors to dry completely because I wanted to prevent an air bubble from forming within the stem.


![IMG_2441[1].jpg](https://forum.rosehybridizers.org/uploads/default/original/2X/1/1d6d9750ba2468543447426e4257c79da80dacc4.jpeg)
