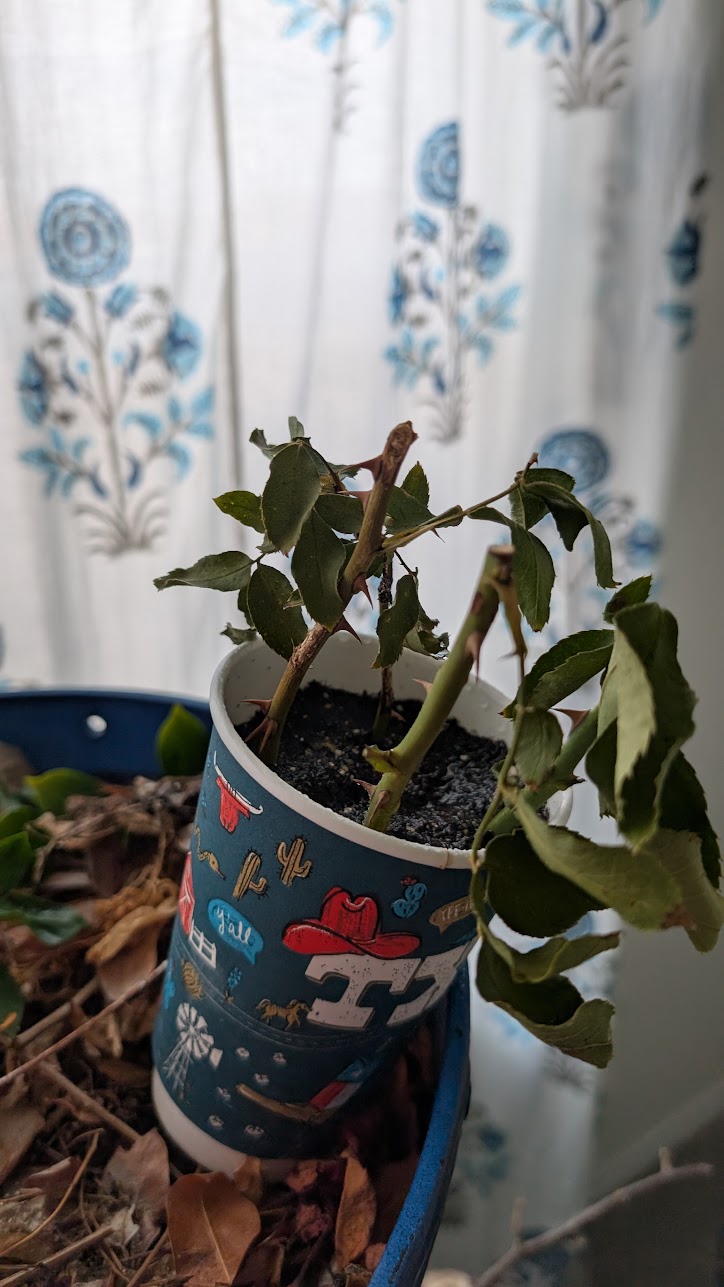
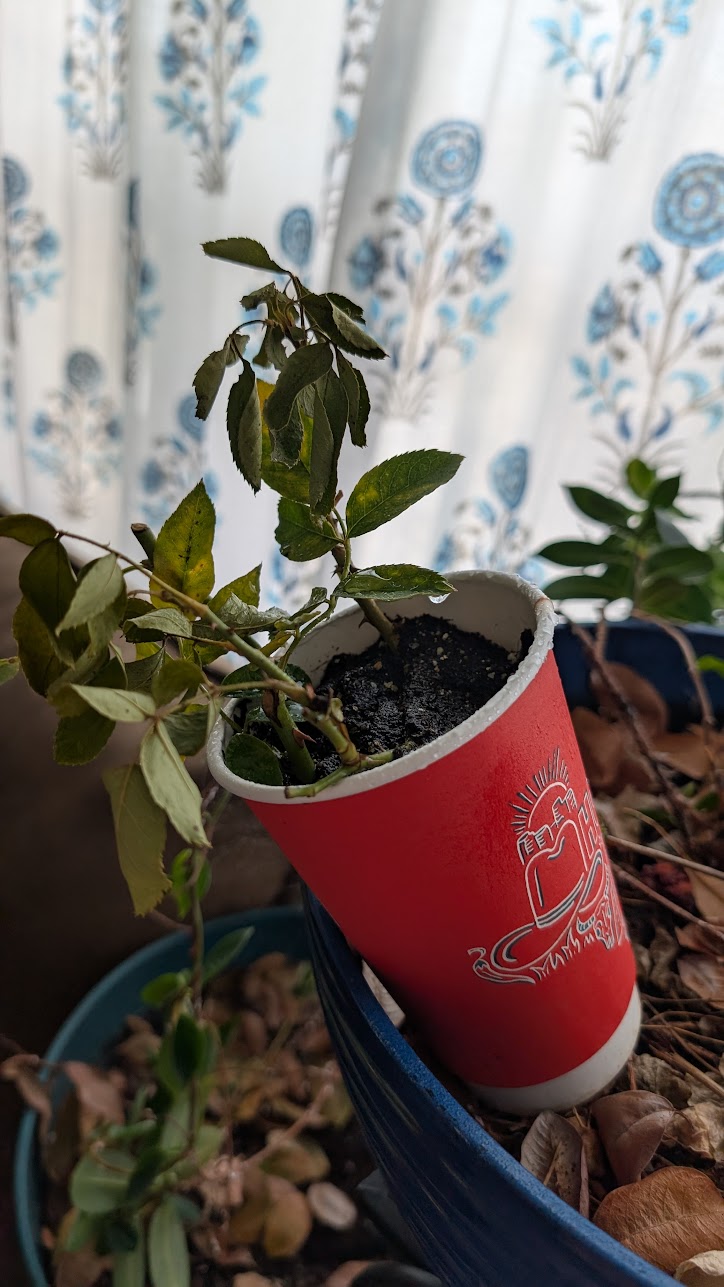
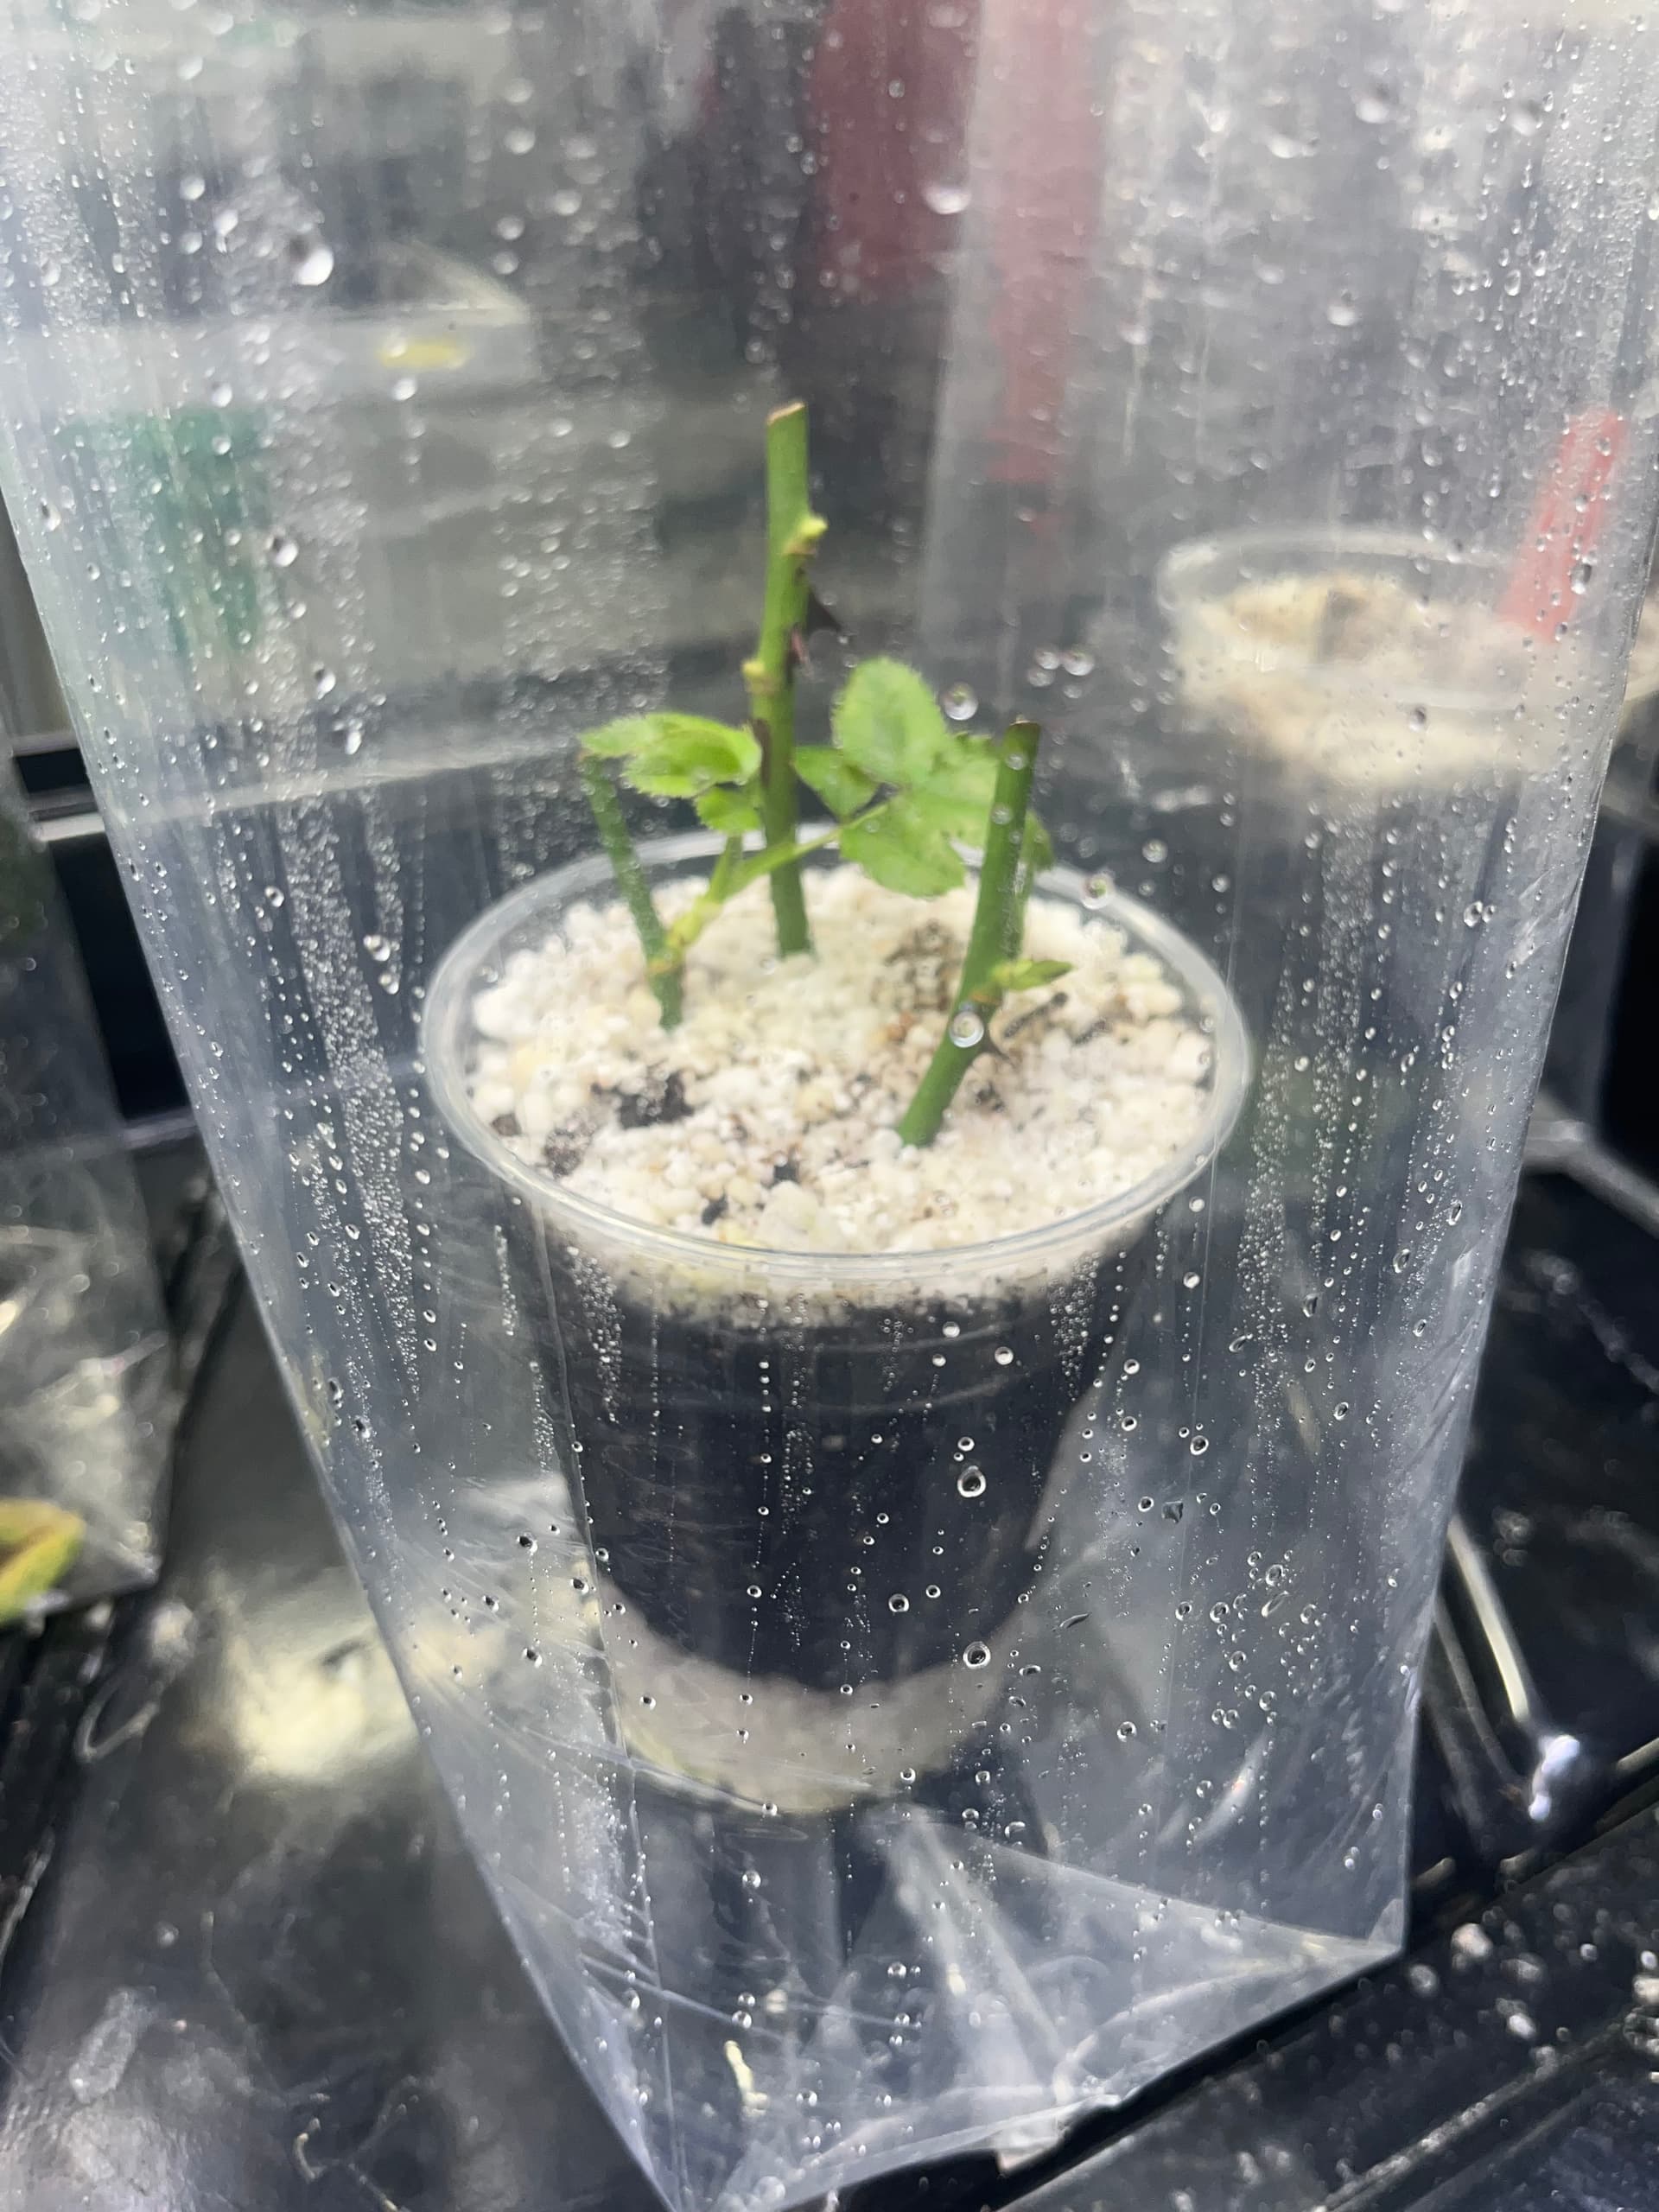
I’ve just bought new rooting hormone - my old stuff was very dilute. These are my old cuttings with the old rooting hormone. Before I start a new batch, how can I improve other than by using better rooting hormone? I have holes punched in the bottom of those paper cups, I have them in seed starting mix, and I mist them several times a day. Clearly, these aren’t doing great. What should I do differently?
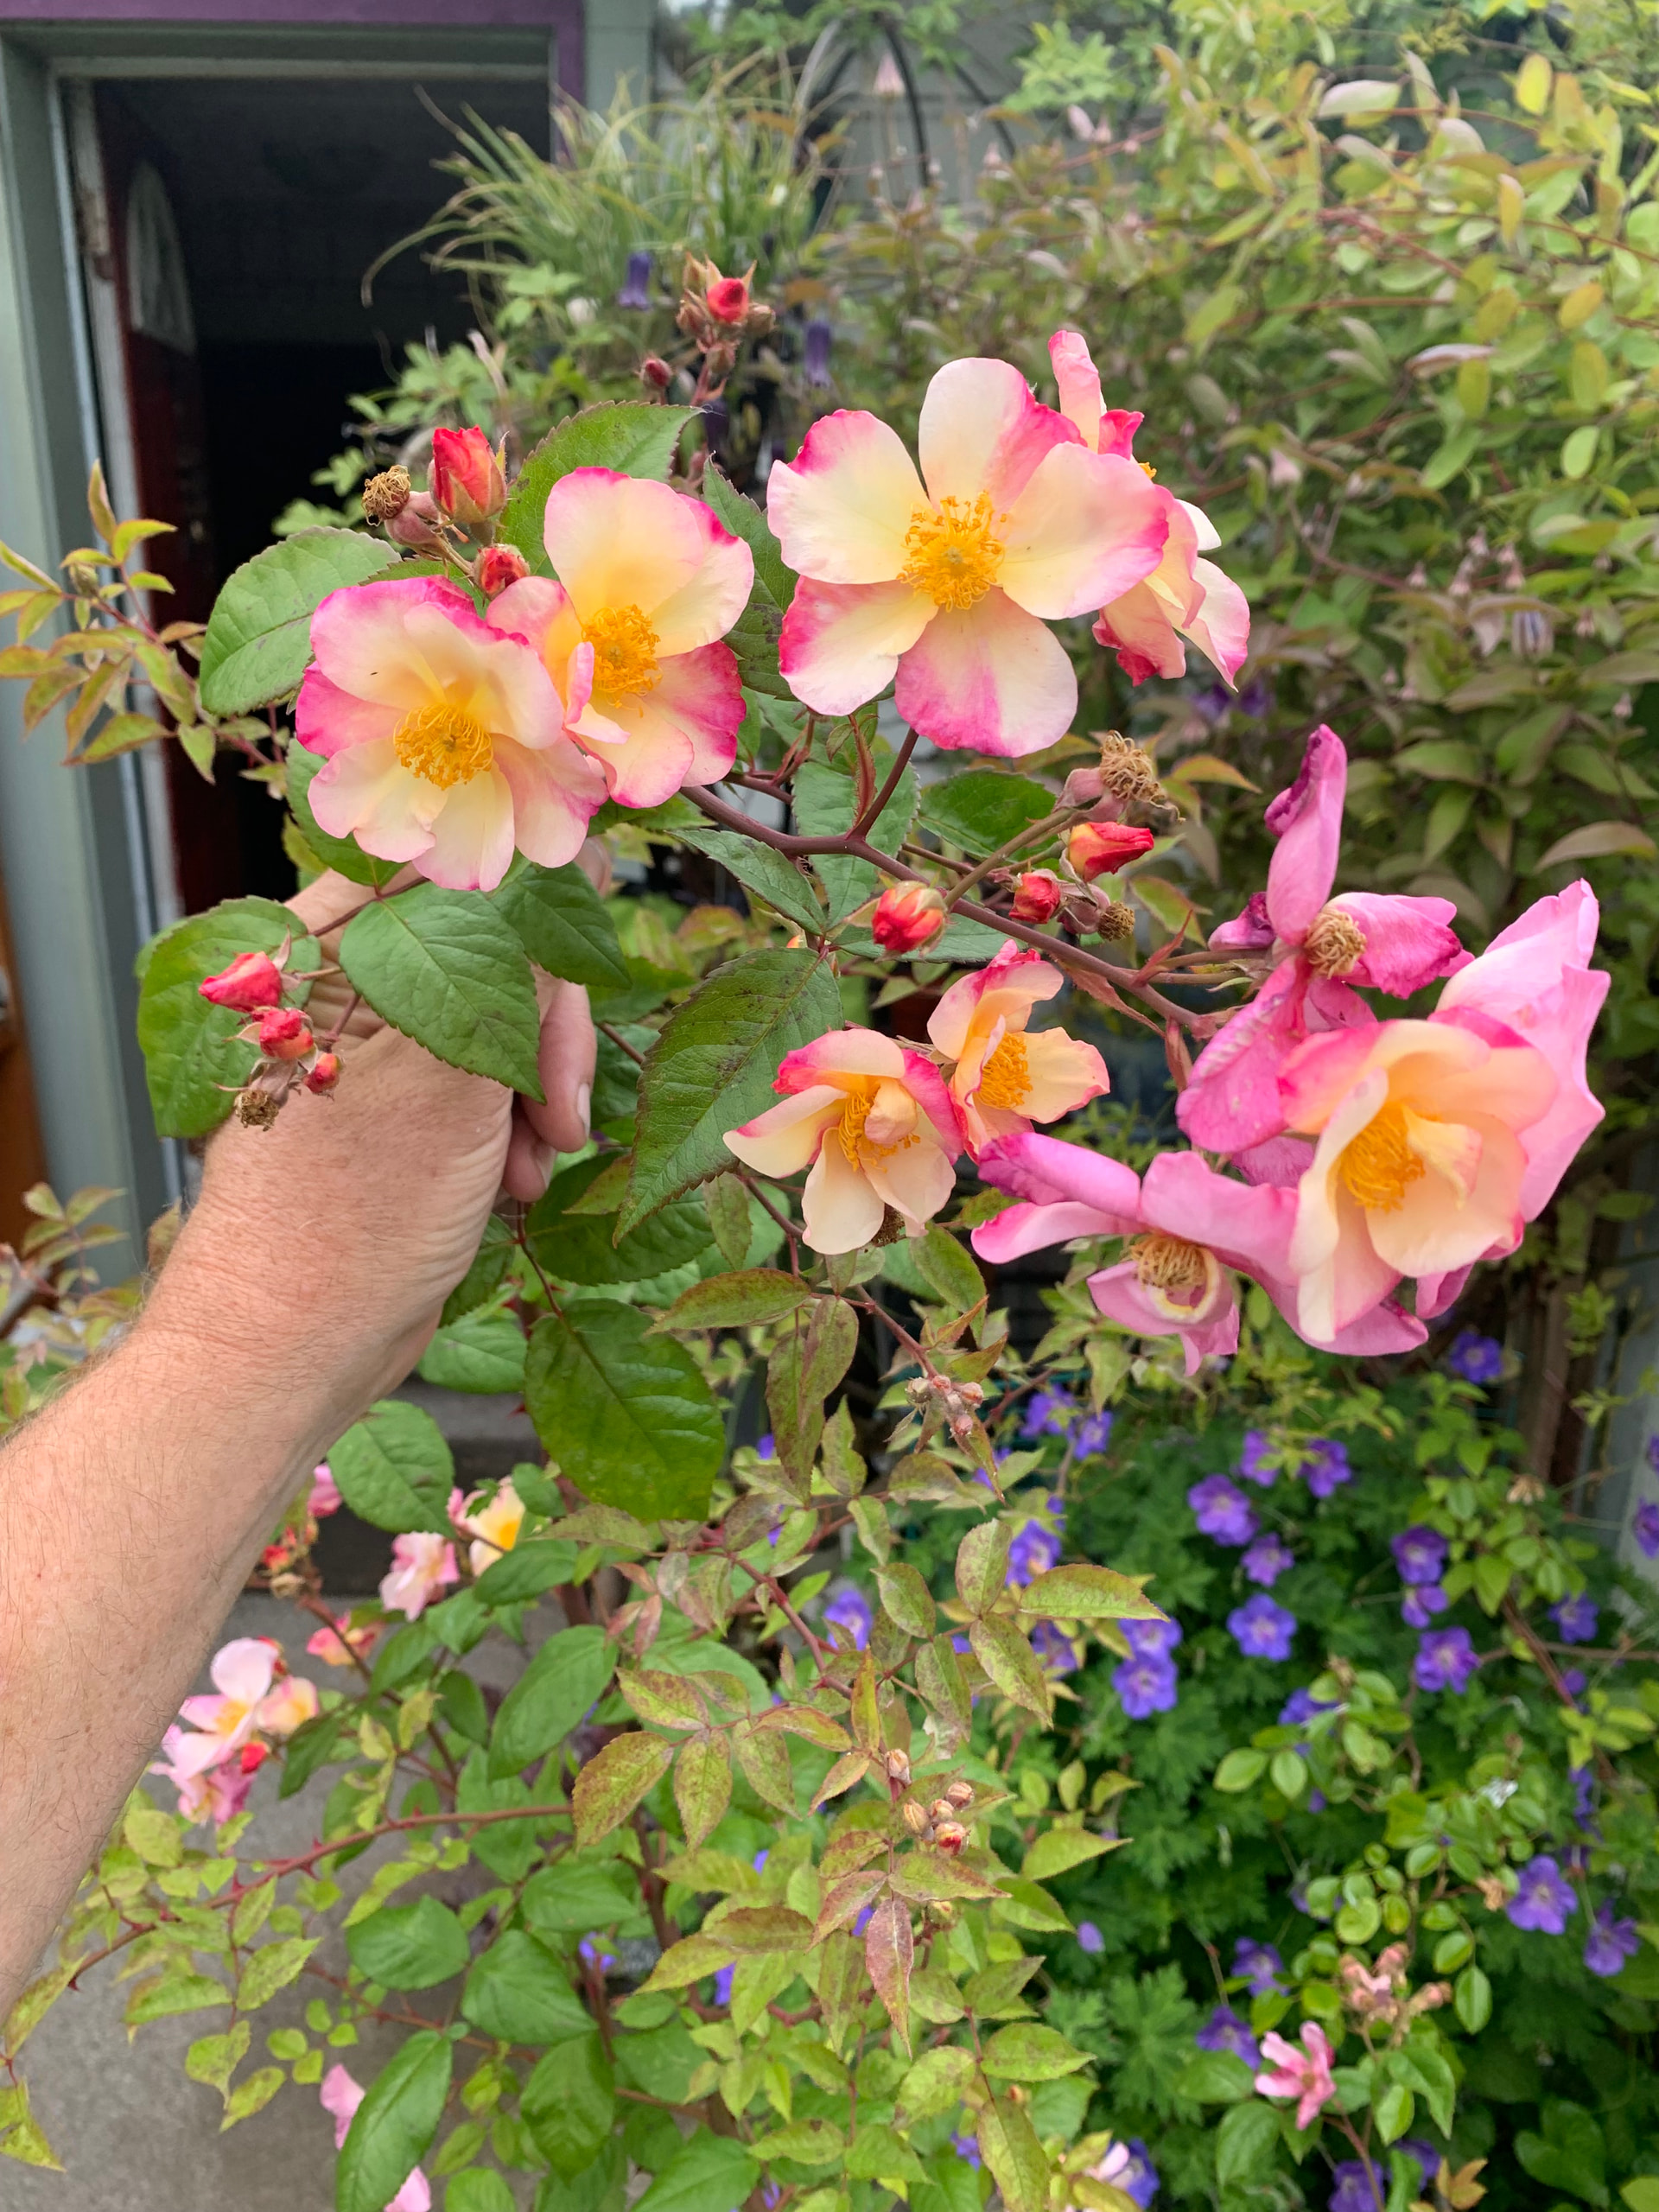
Edit: BTW, it’s Shadow Dancer, an excellent large-flowered climber.
I don’t have any luck using seed starter .For many years I have used Pro mix. I get 90 percent take on big roses and 95 on minis. Using homidin rooting powder.
This may hurt, and is NOT GOING TO APPLY to many on this forum, but…
My greatest successes have come from cuttings made from winter pruning, placed right into the fallow vegetable garden at my old neighbours’s house. It’s chilly and rains most of the winter with few actual freezes, here on Vancouver Island z7b, and typically 80% will have good callus, and usually have started rooting as the bulbs begin flowering. Long before the veggie patch is needed.
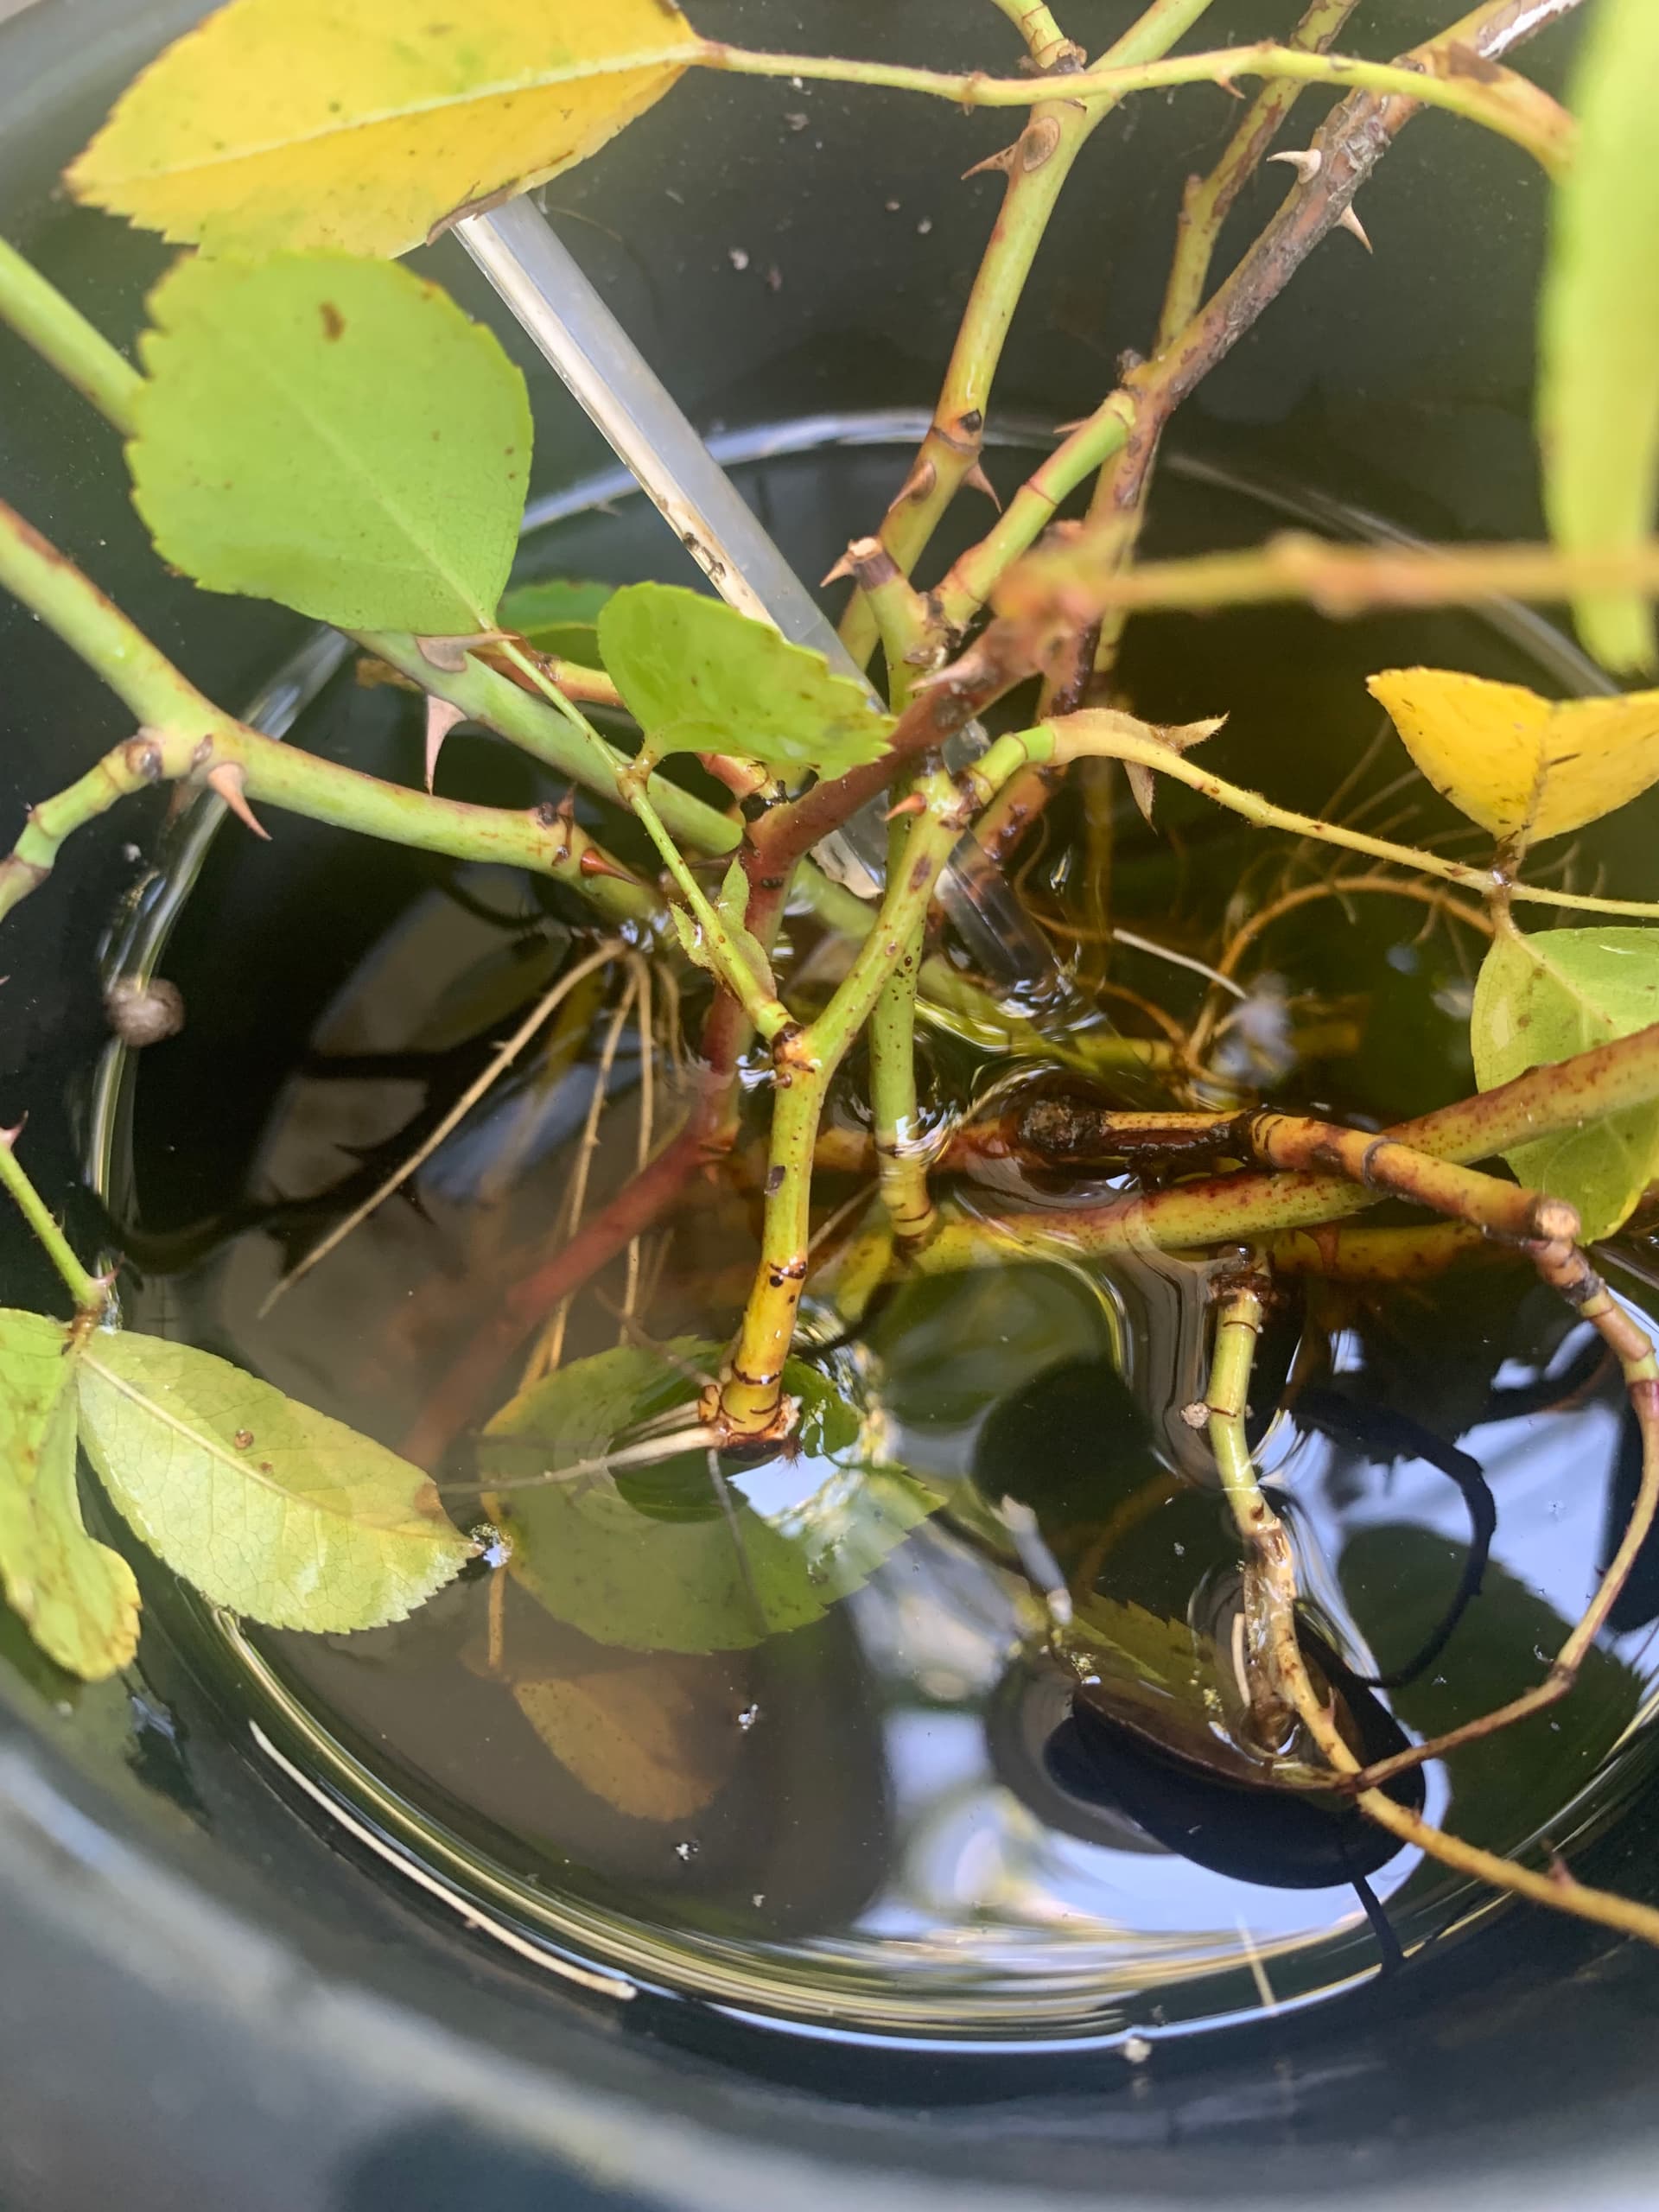
Also, because I didn’t believe the good people here on this forum, I tried the old “cup of water” trick with some summer-cuttings and GD it works!!
There are generally two types of cuttings that have worked for me:
In colder climates, ripe cuttings taken in the fall, when weather is getting crisp and the anticipation of winter has triggered the plants to create winter stores within their stems. This is when e.g. Kim’s burrito methodology is near foolproof. (I do pencil-sized cuttings wrapped in newspaper soked with dilute high-phospate (e.g. root or bloom building) fertilizer and rooting hormone.)
In the growing season, stems with spent blossoms presumably have stores for developing hips that can be diverted to root growth. Select healthy (not too “fleshy" though, i.e. nothing resembling water shoots) stems. Remove all hips and blossoms and strip 3/4 of (lower) leaves on stem. Cut back the rest of the leaves to about 1/2. (The goal is to limit the demands leaves will have on the stem – root:shoot balance is gonna be trashed, and you will have, at best, a highly stressed piece of plant – while still permitting a modicum of photosynthesis.) I like to strip bark on one or two sides of stem at bottom to expose more meristem. (Meristem is tissue where new roots can form.)
Strike these in moist (never “wet") medium and keep in bright, indirect or filtered light. (How filtered might depend on your climate.) If growth begins within first 2 weeks, be wary as this might indicate plant did not get memo that it has no roots (as often happens if soil is too wet). If leaves drop, don’t worry. Abscissing is an active process from live tissue reacting to stress and is better than having leaves shrivel on dead stems.
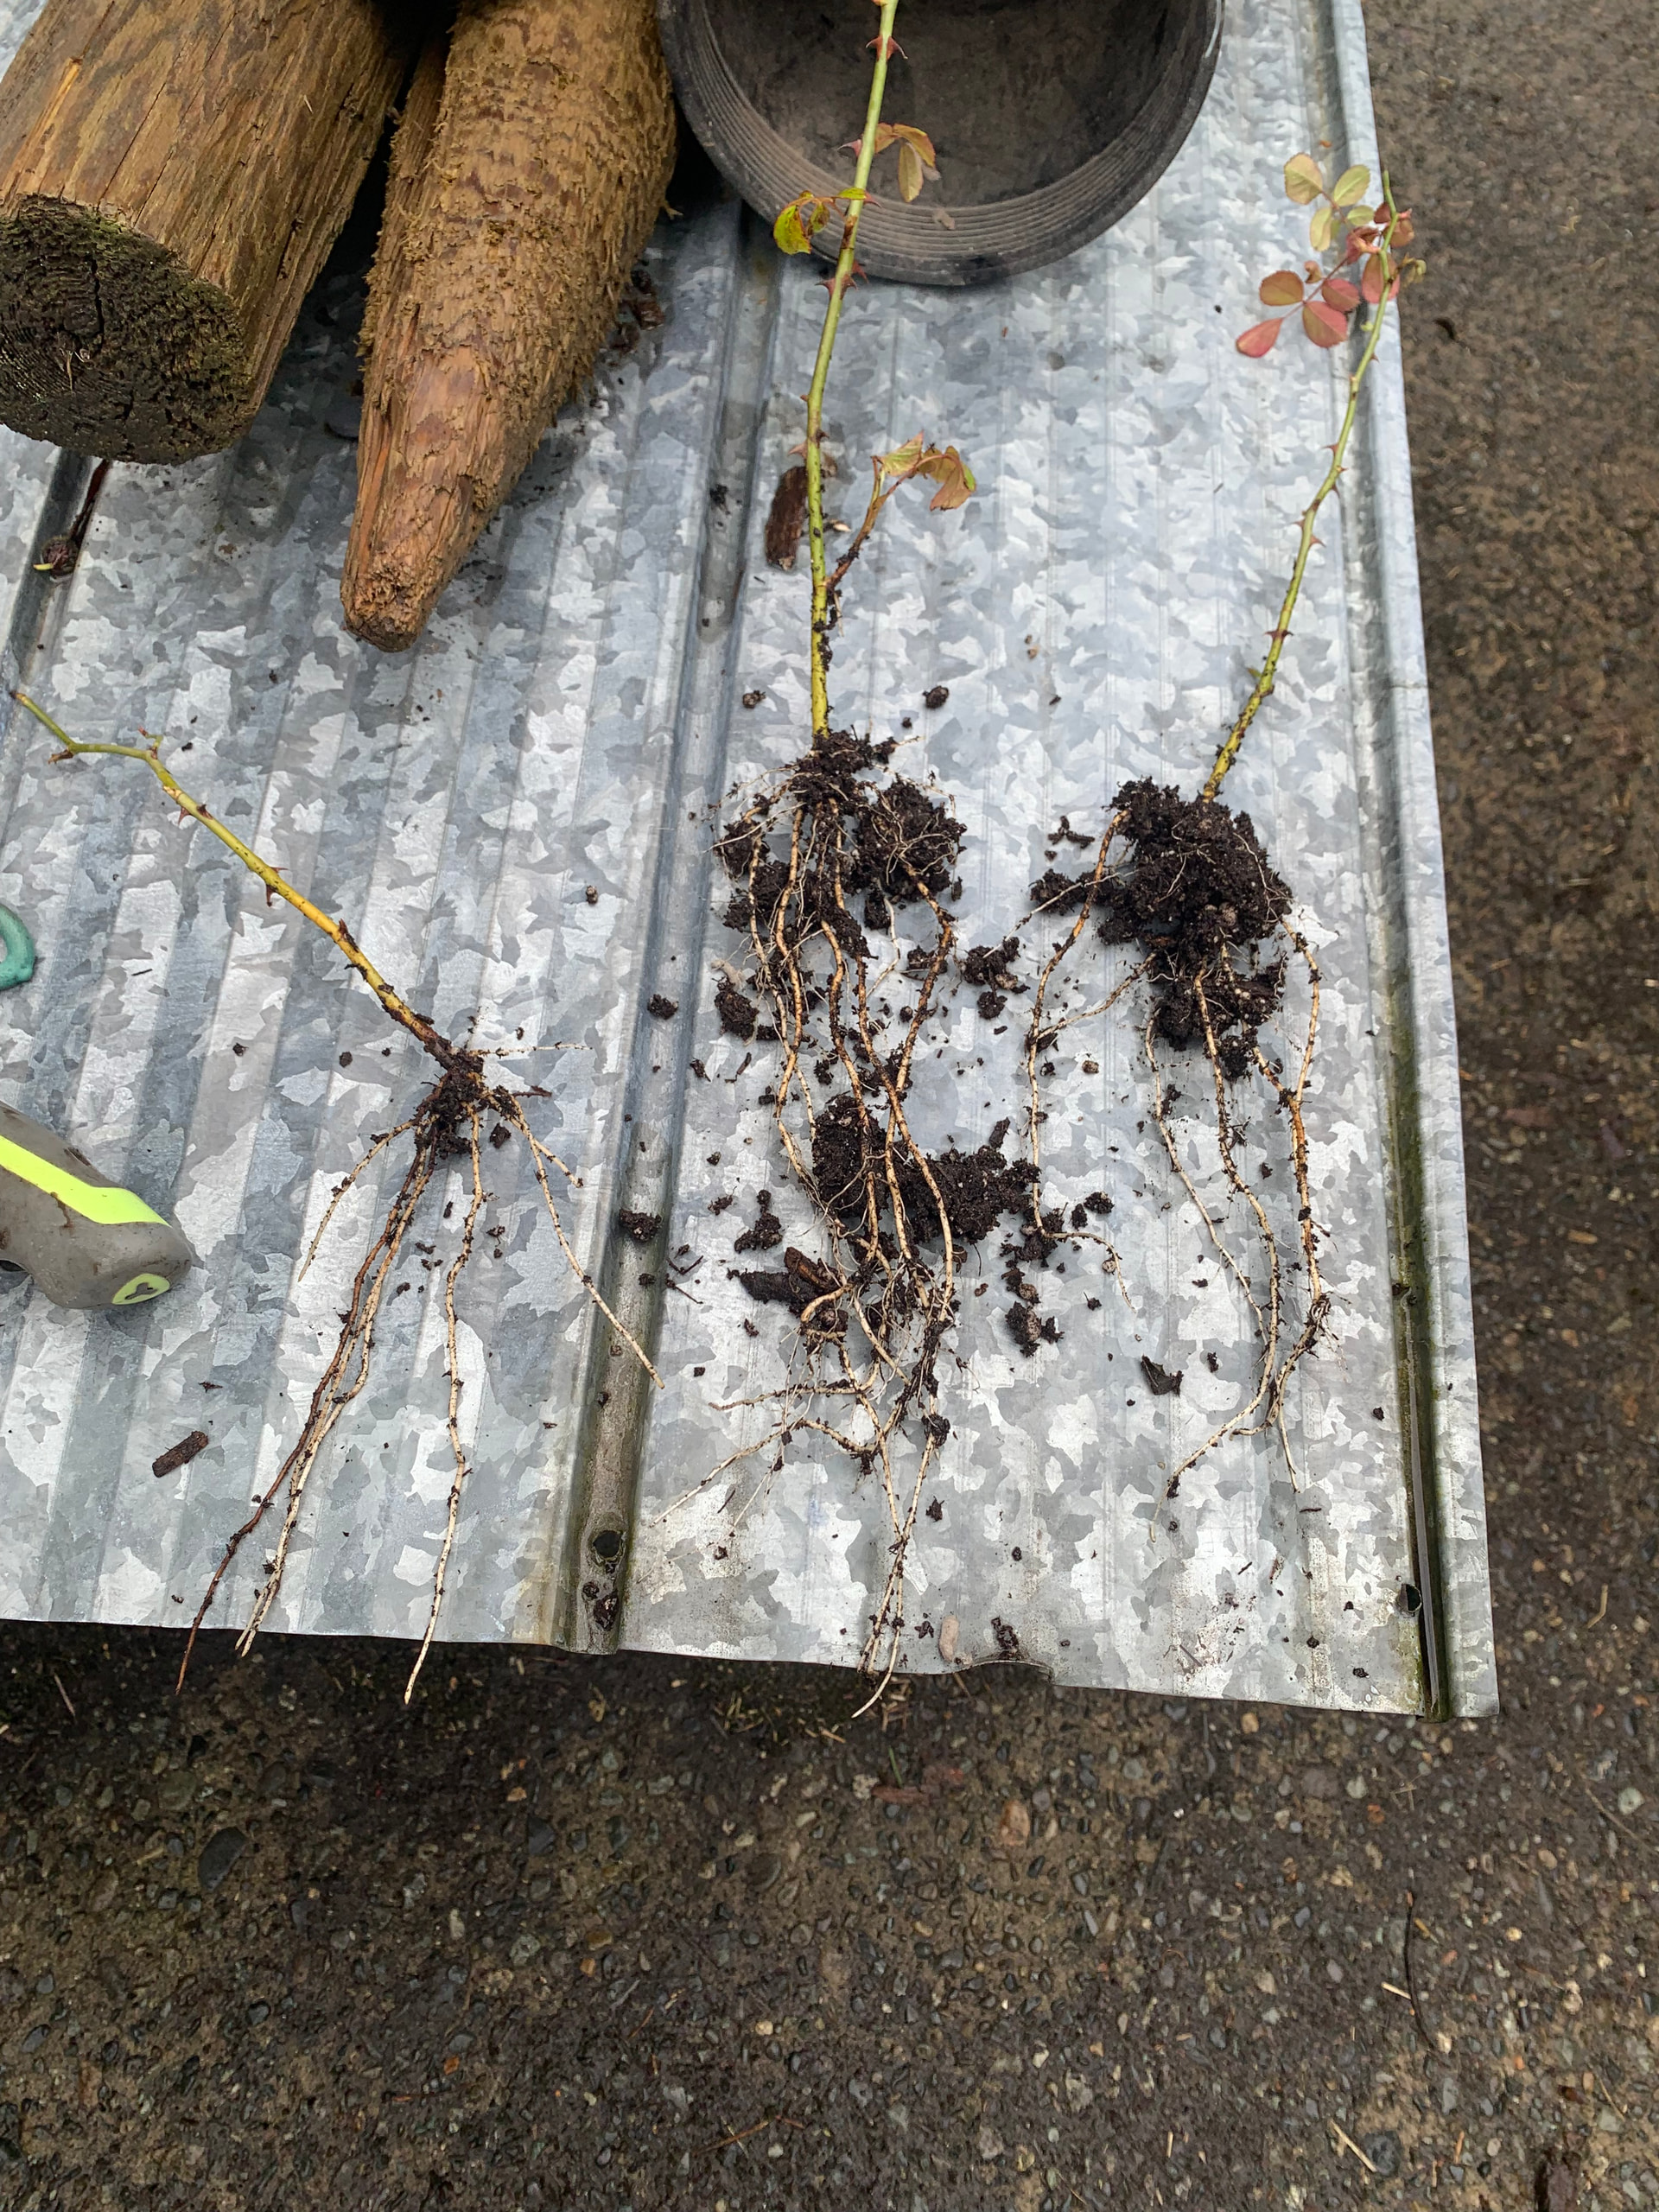
New growth after about three weeks is usually a good indication of success.
Depending on medium and humidity, my results vary. In the Gulf coast I could get upwards of 80% success with well-selected semi-ripe cuttings, but here in central Texas my success rate is comparable abysmal, though I have found a spot under an oak (and beloved by the #@%& mosquitoes) where it seems to work moderately well.
(FWIW, the medium in your photo is way too wet, and the rooting end of your stems would be getting no oxygen, drowning in those plastic cups.)
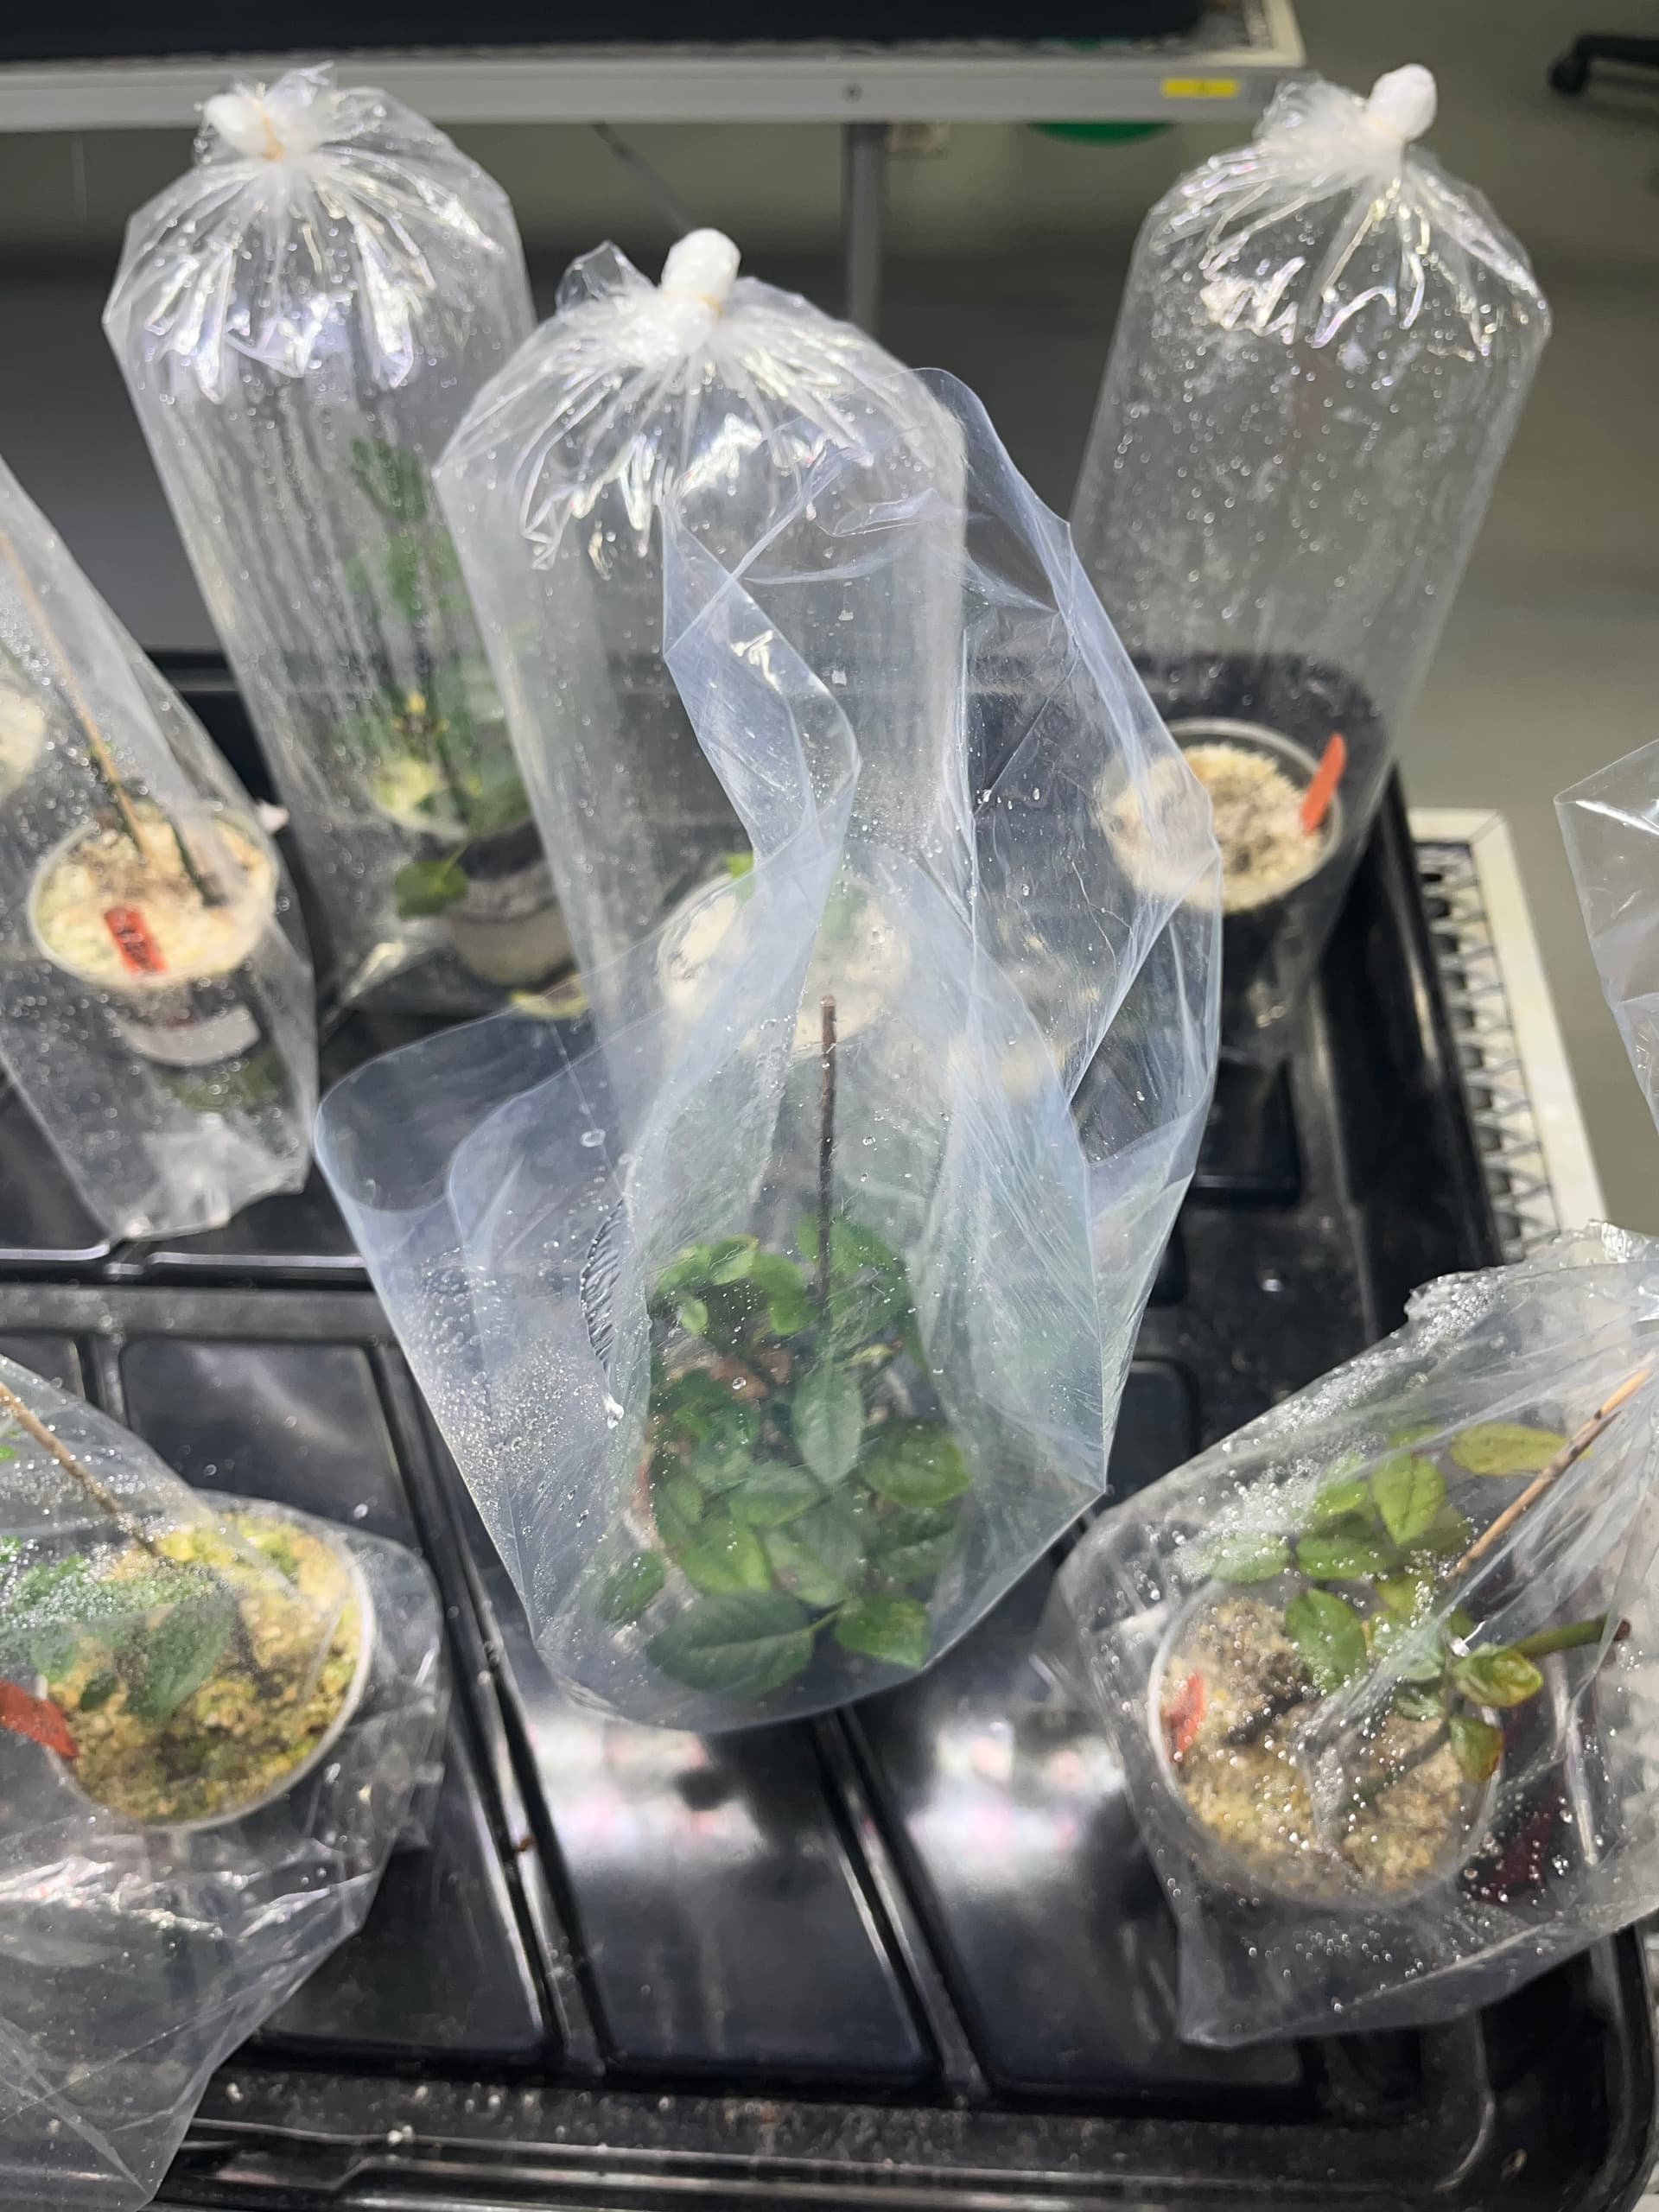
This is similar to the method that was taught to me by Will Radler. Instead of misting multiple times a day I would recommend putting a clear plastic bag around the cup. This keeps the moisture/humidity up. I also use a clear plastic cup so I can see the roots forming in the soil. When I see the roots I start to slowly put holes in the bag and eventually when acclimated to the room remove the bag.
The plastic bag also shows the plant breathing as the bag deflates every few days. Just unseal bag and blow air back into the bag. More CO2 for the plants as well! Good Luck!
If you have a grow tent i’d run a humidifier set to 85% and a timer that goes on for 5 seconds every 10 minutes. Toss the plants in a perlite/vermiculite combo for varieties that are tough to propagate and switch them into soil once they’ve calloused up.
Cuttings I potted up into 1gal pots today (March 17), that overwintered in a big windowbox after callusing in a cup of willow-water. They are of my own ‘Mutabilis’ x ‘Trier’ seedling.